How to extend an image with AI: three outpainting models compared
Turning a square or landscape picture into a vertical story or a wide thumbnail usually means cropping most of it away. Outpainting goes the other way: an AI model keeps your image and paints the missing space around it. On 31 October 2026 we gave three outpainting models the same three images and the same frames, and kept the first result from each.
How we tested
- Three images: a landscape photograph, and a portrait and a product shot from our first model comparison.
- Each image was placed on its new frame exactly as the Pickframe editor places it, and the same frame went to all three models: Bria Expand, Bria FIBO Expand and FLUX.2 Pro Outpaint.
- There was no prompt. These models continue the picture they are given.
- One result per model and image: no retries, no picking the best of several, no retouching. Select any picture to open the untouched original file.
- They ran through the same fal.ai routes and request settings as the Pickframe editor.
| Test | Original | New frame | Where the original sits |
|---|---|---|---|
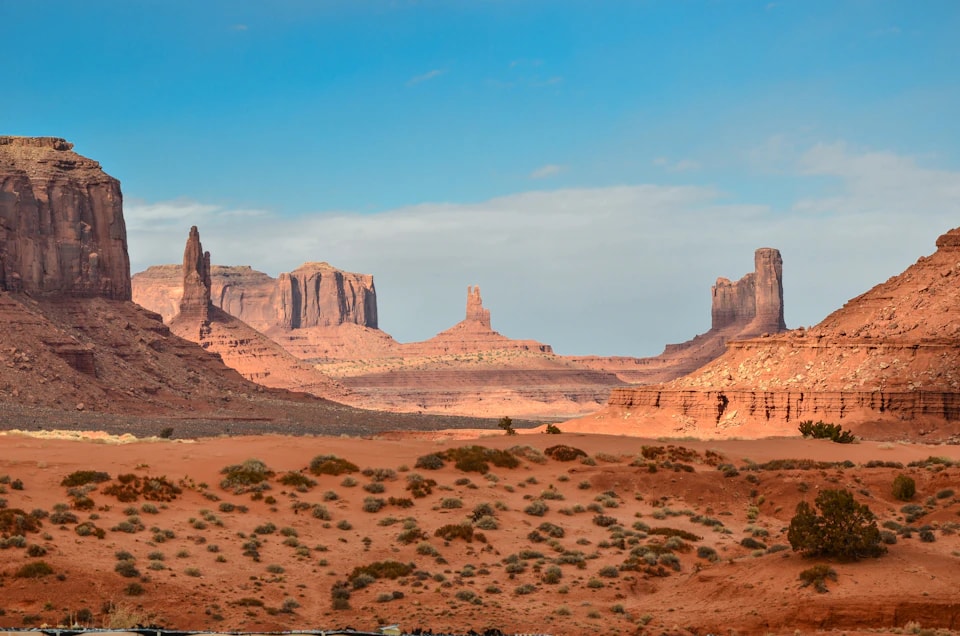
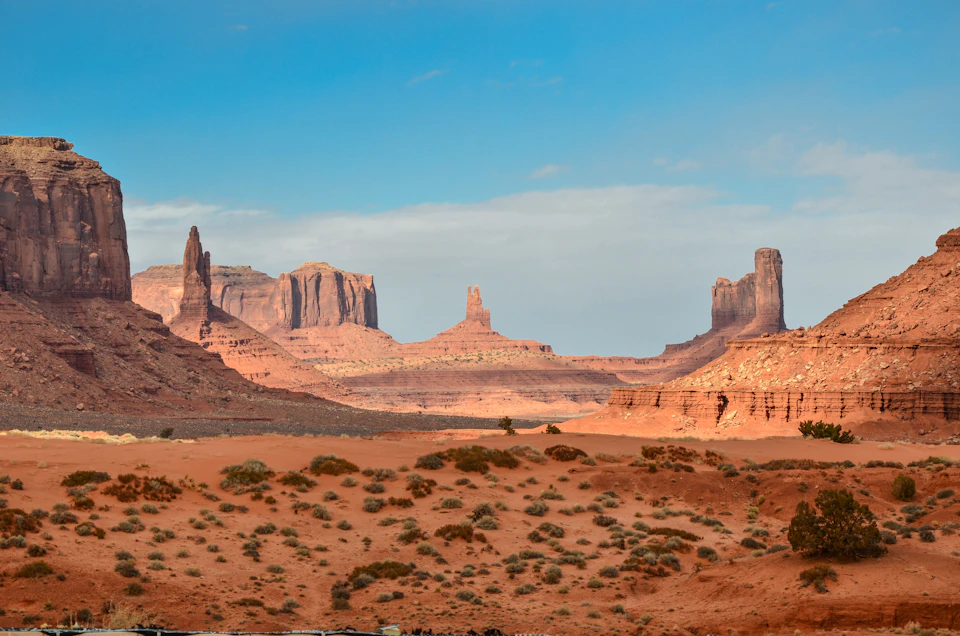
| Landscape to vertical cover | 960 × 636 | 960 × 1707 (9:16) | Low in the frame: 857 px of new sky, 214 px of new ground |
| Portrait to thumbnail | 1024 × 1024 | 1820 × 1024 (16:9) | At the right edge: 796 px added on the left |
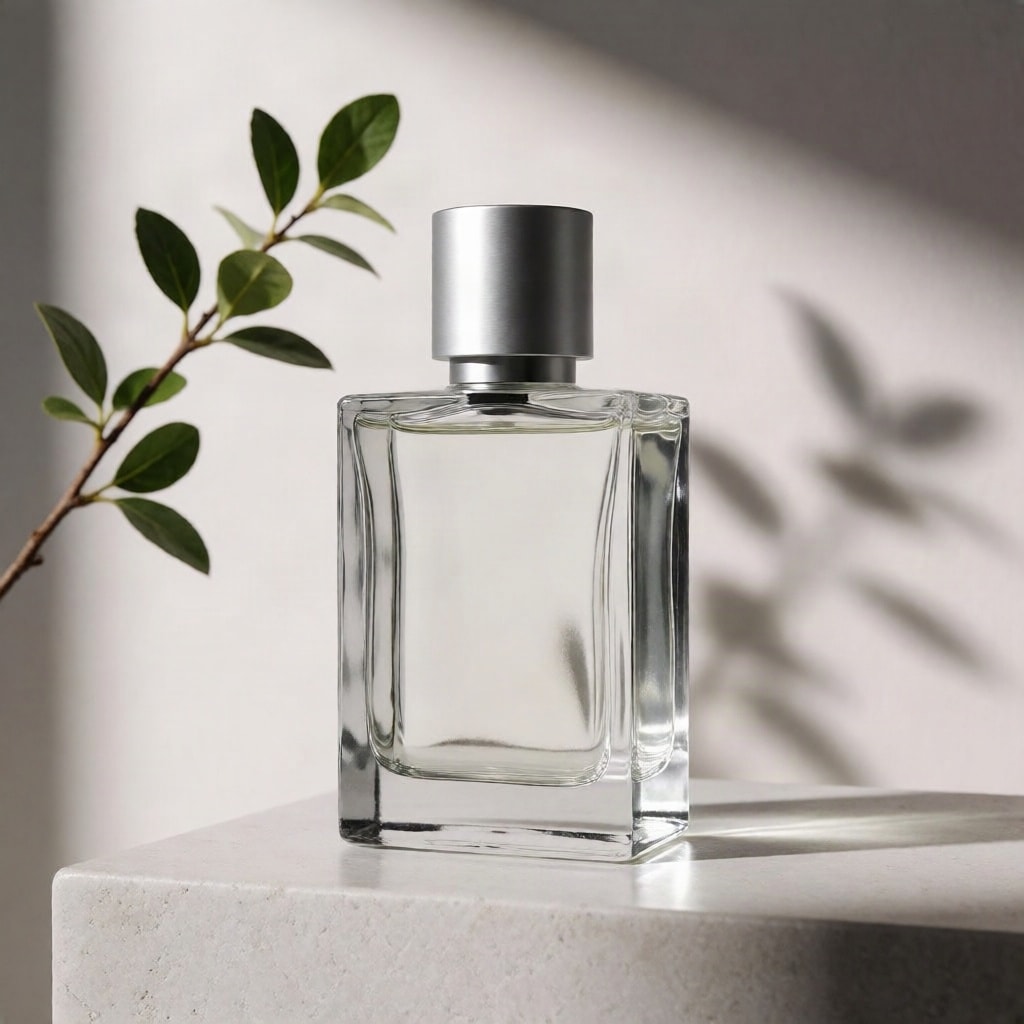
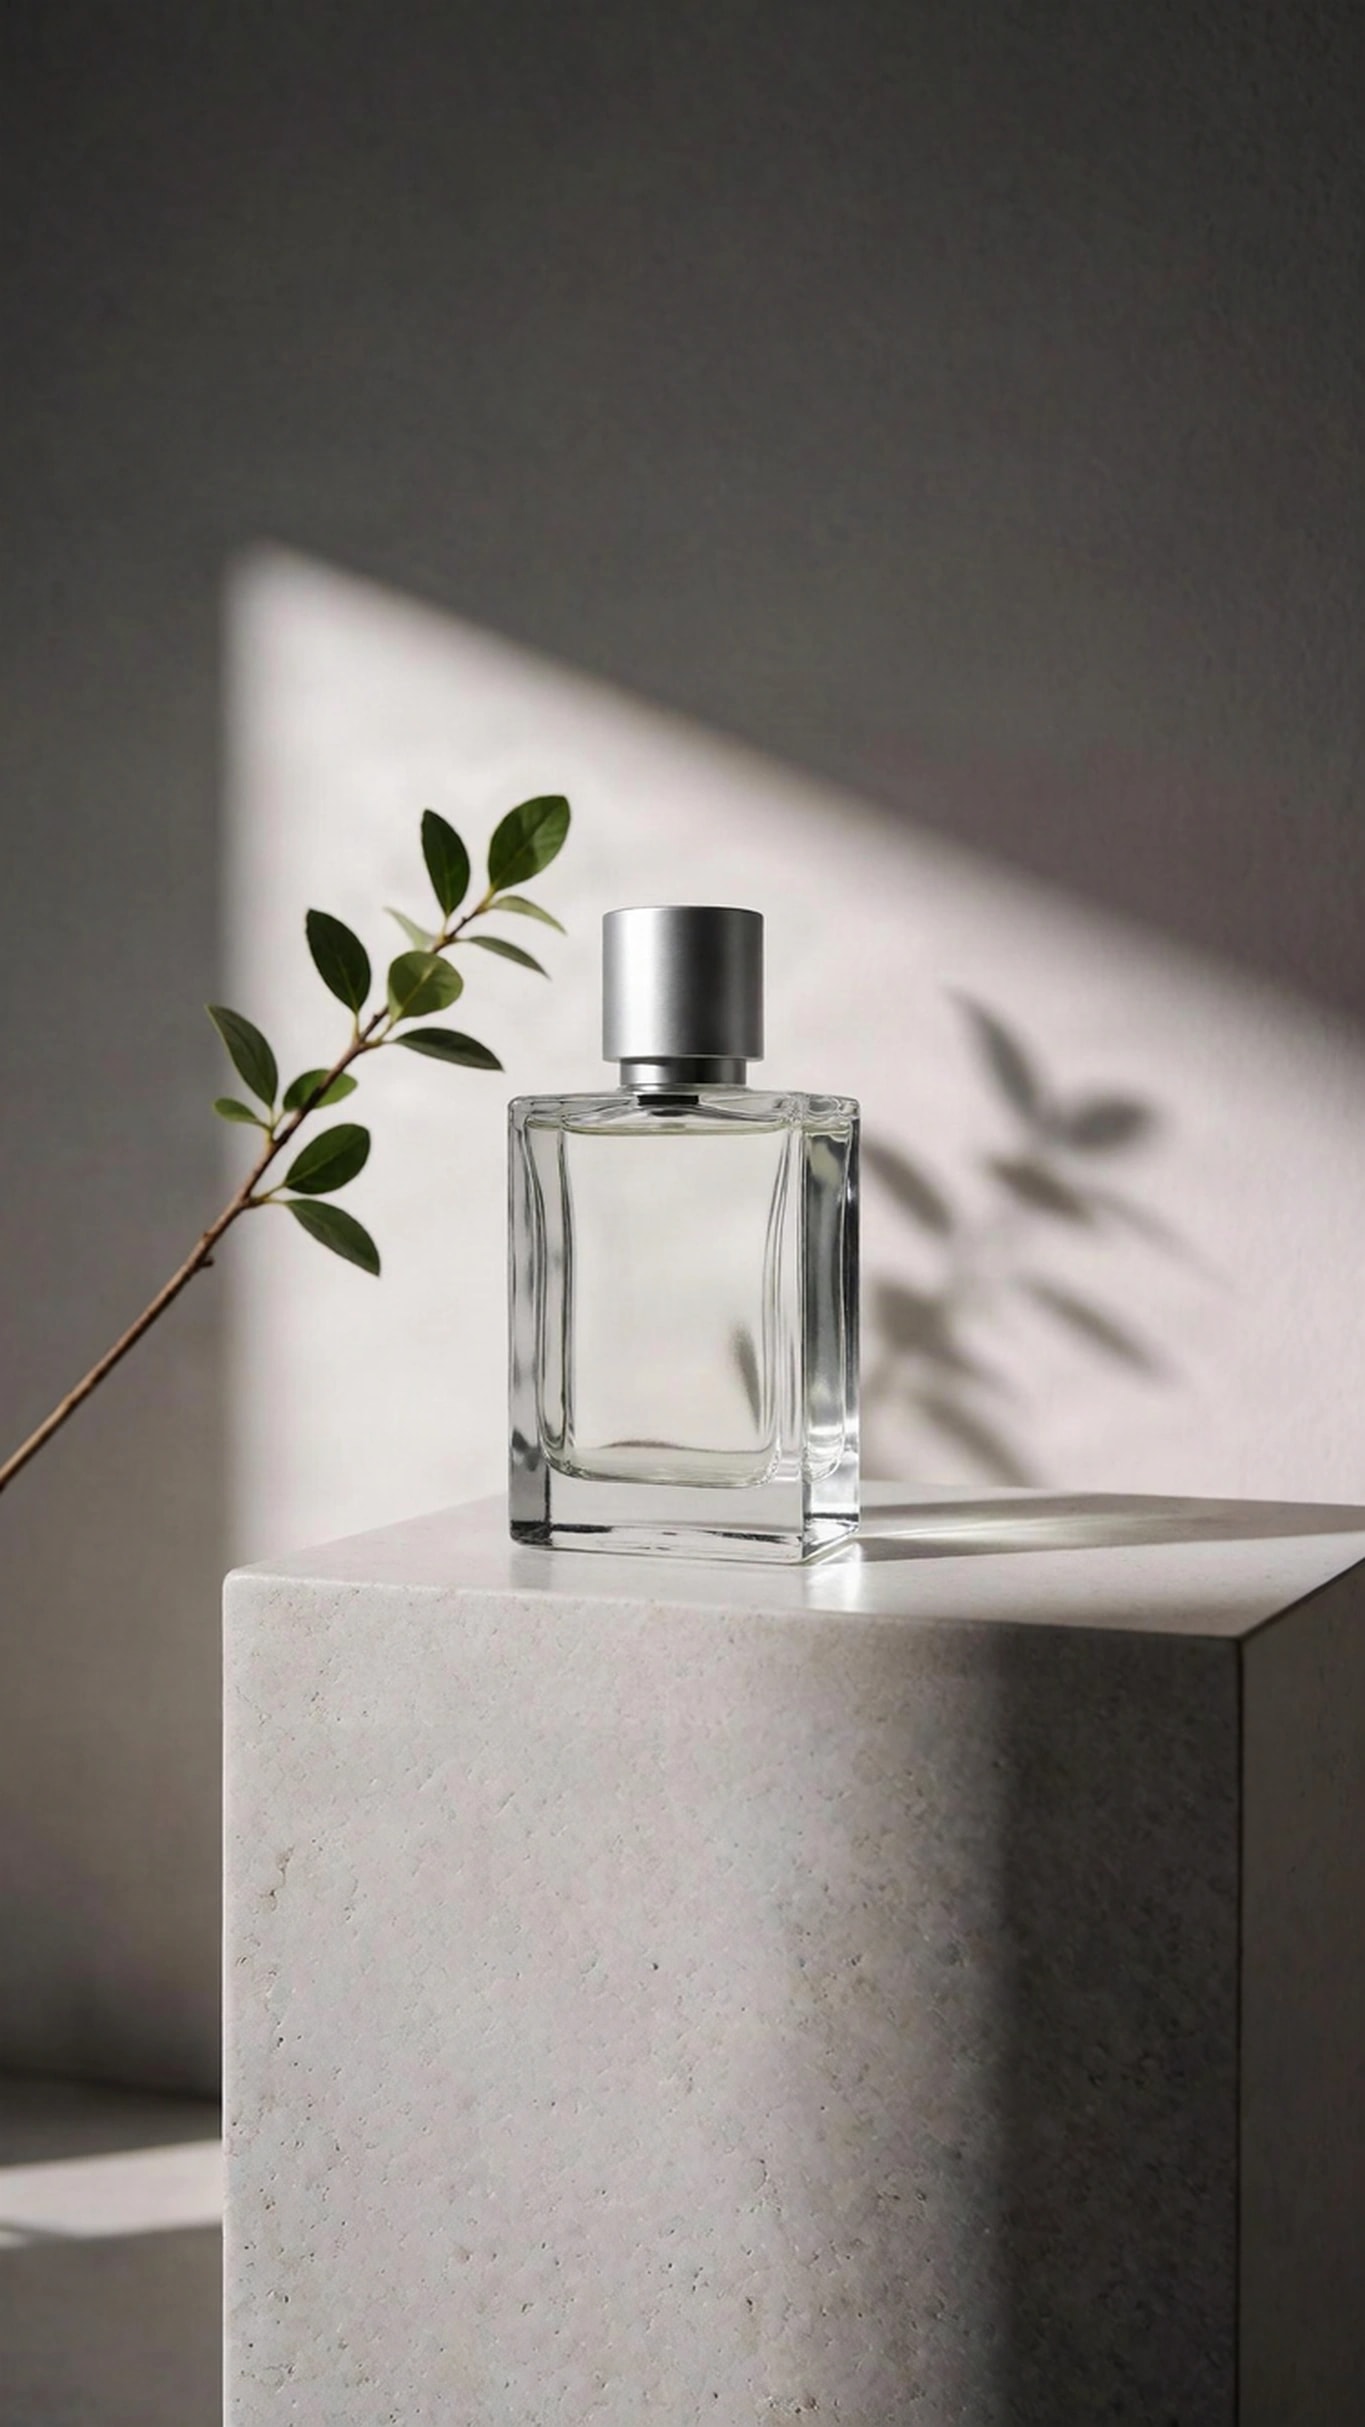
| Product to vertical story | 1024 × 1024 | 1365 × 2427 (9:16) | Centred at three quarters size: new space on all four sides |
One result per model cannot rank models. It shows what each one did with these pictures on one run, which is the kind of difference worth seeing on your own image before you choose.
The results at a glance
All nine results came back at exactly the size asked for, and none has a visible join between the original and the new area, even at full size. The differences are in what each model invented, and in whether it left the original alone.
| Test | Bria Expand | Bria FIBO Expand | FLUX.2 Pro Outpaint |
|---|---|---|---|
| Kept the original | Softened it in all three tests | Unchanged | Very close; slightly softer in two tests |
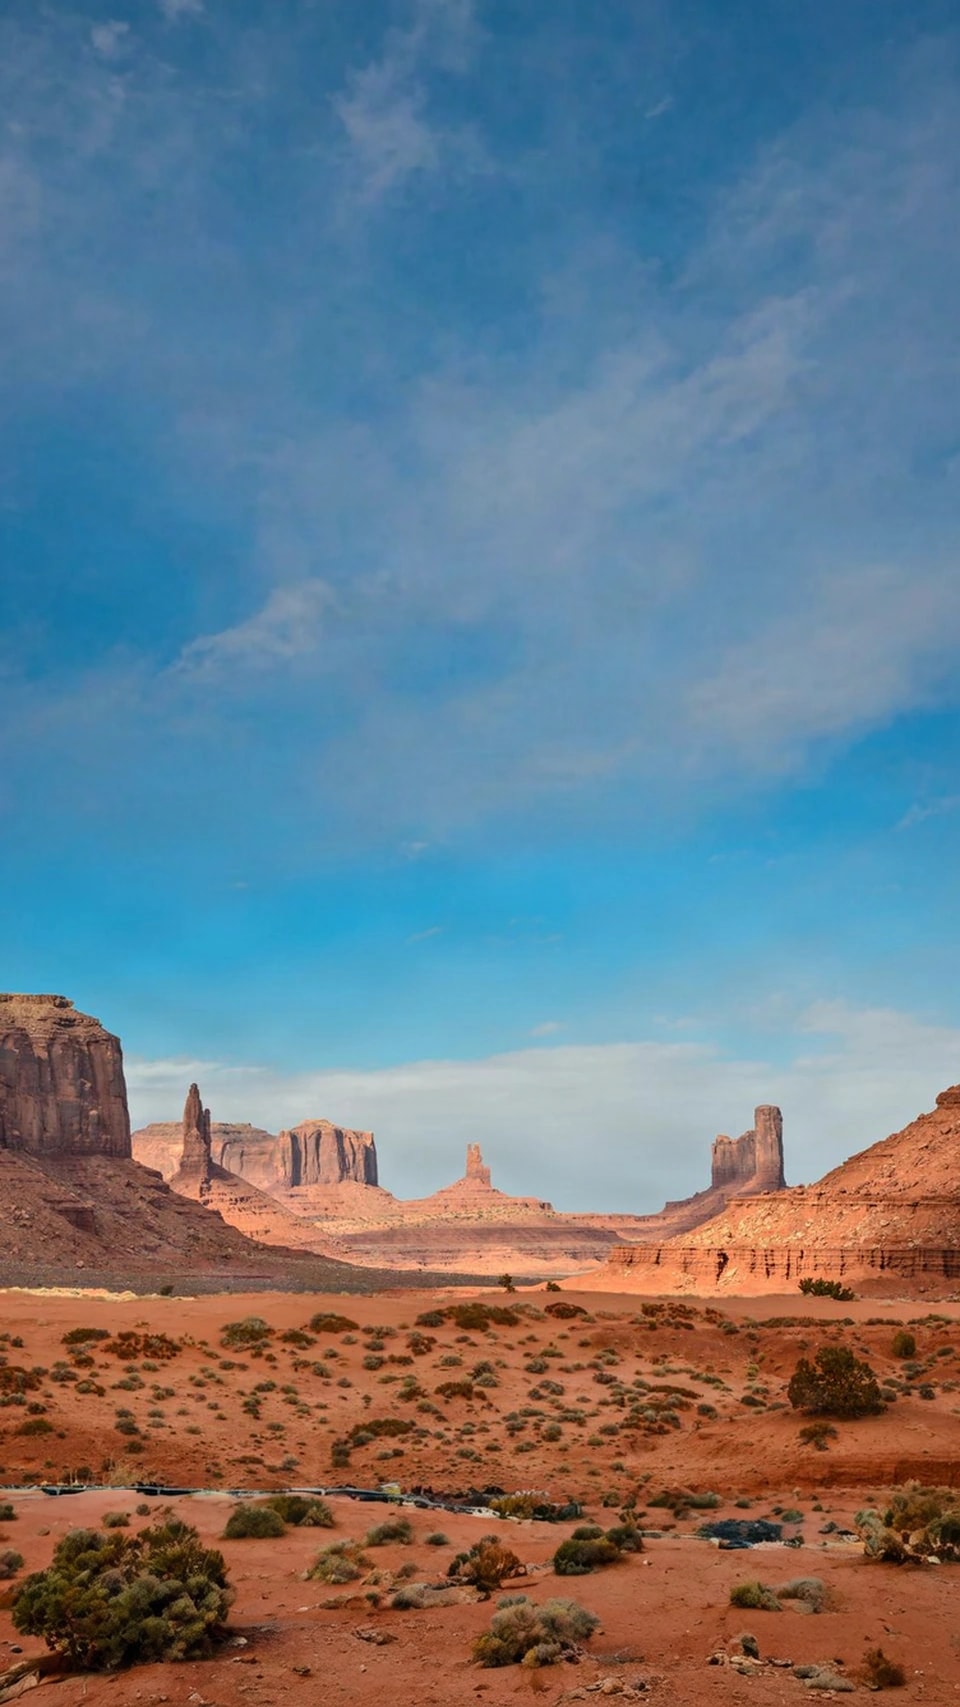
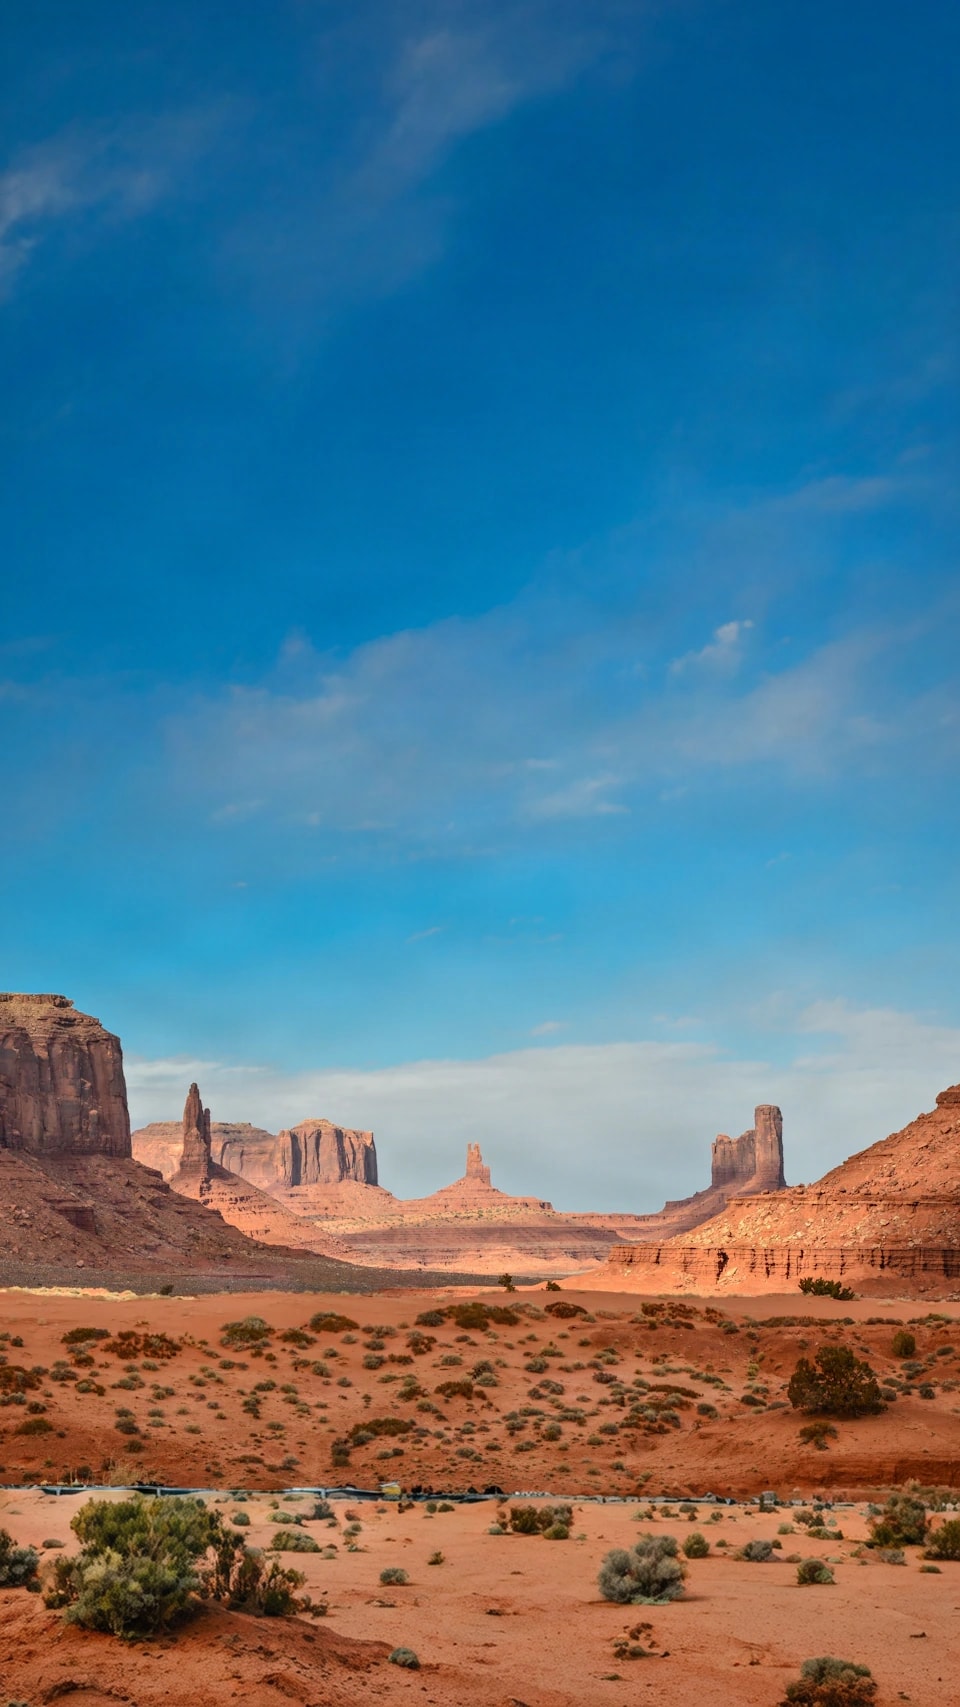
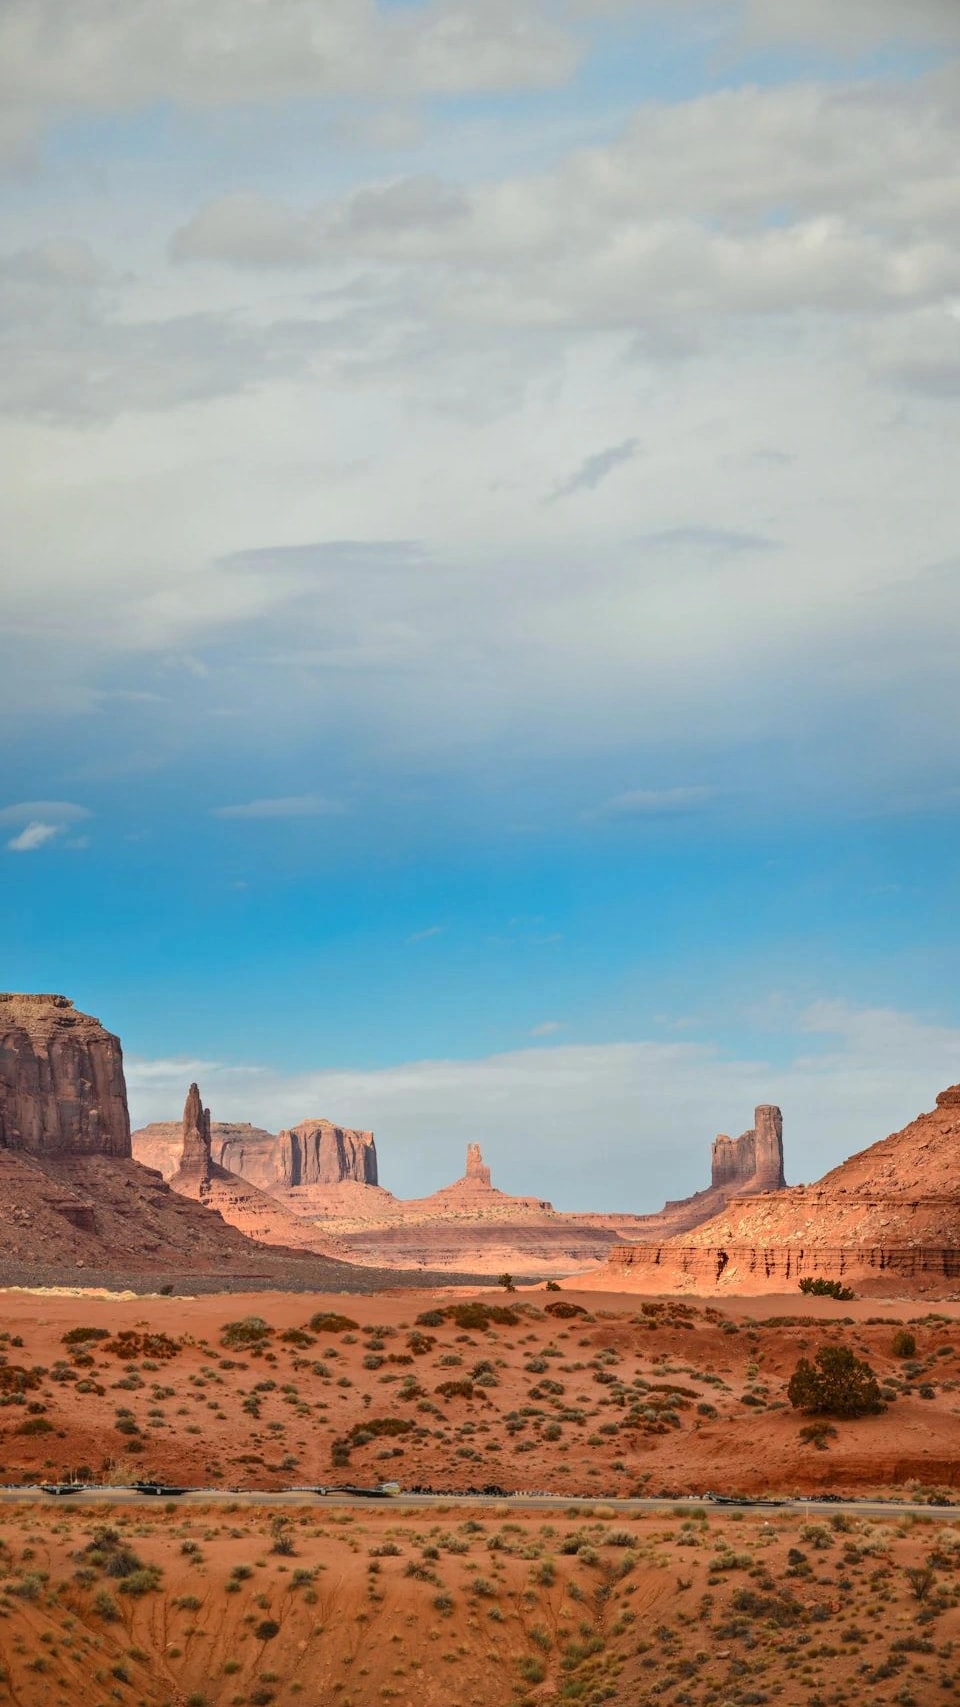
| Landscape | Blue sky; dark clutter along the old bottom edge | Deep blue sky; a tidy fence line | Turned most of the new sky cloudy |
| Portrait | A second window frame, then a plain wall | A plain wall, the most room for a headline | A large window onto a blurred city |
| Product | A taller plinth | A second band of sunlight on the wall | A lower step under the plinth |
Test 1: a landscape photograph to a vertical cover
A wide photograph cropped to 9:16 keeps only about a third of its width. Expanding keeps all of it and asks the model for sky above and ground below, leaving room for a headline at the top. The bottom edge of this photograph cuts through a dark strip, which each model had to make sense of.
Bria ExpandOriginal (PNG, 960 × 1707)
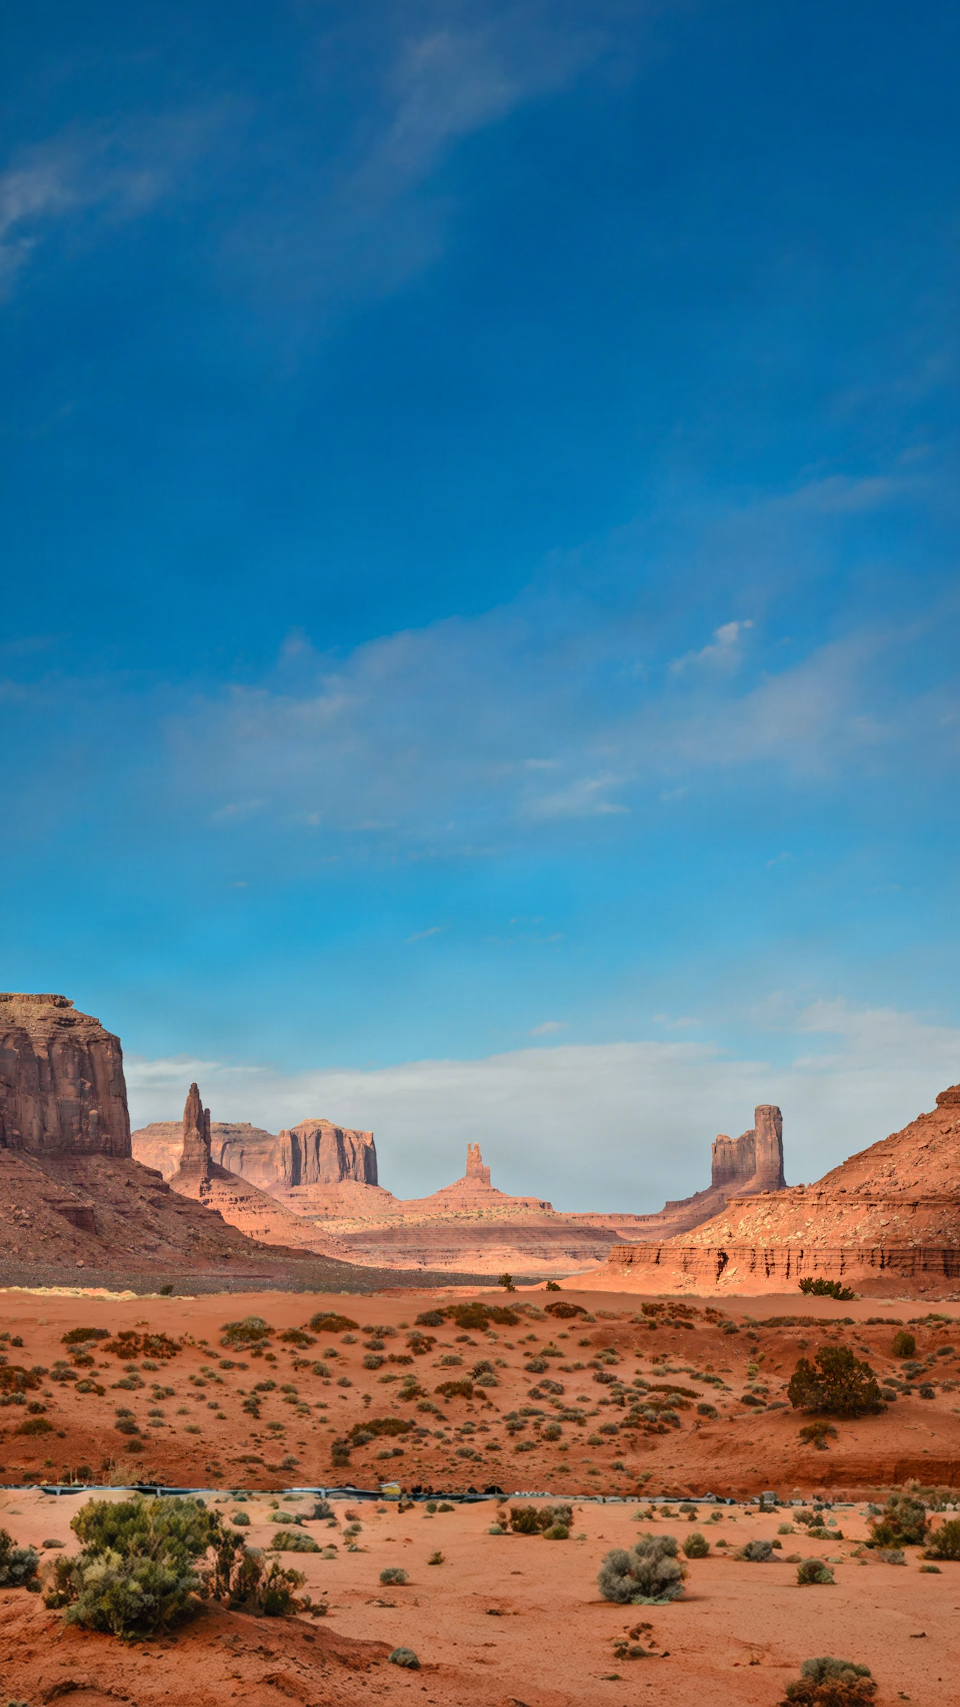
Bria FIBO ExpandOriginal (PNG, 960 × 1707)
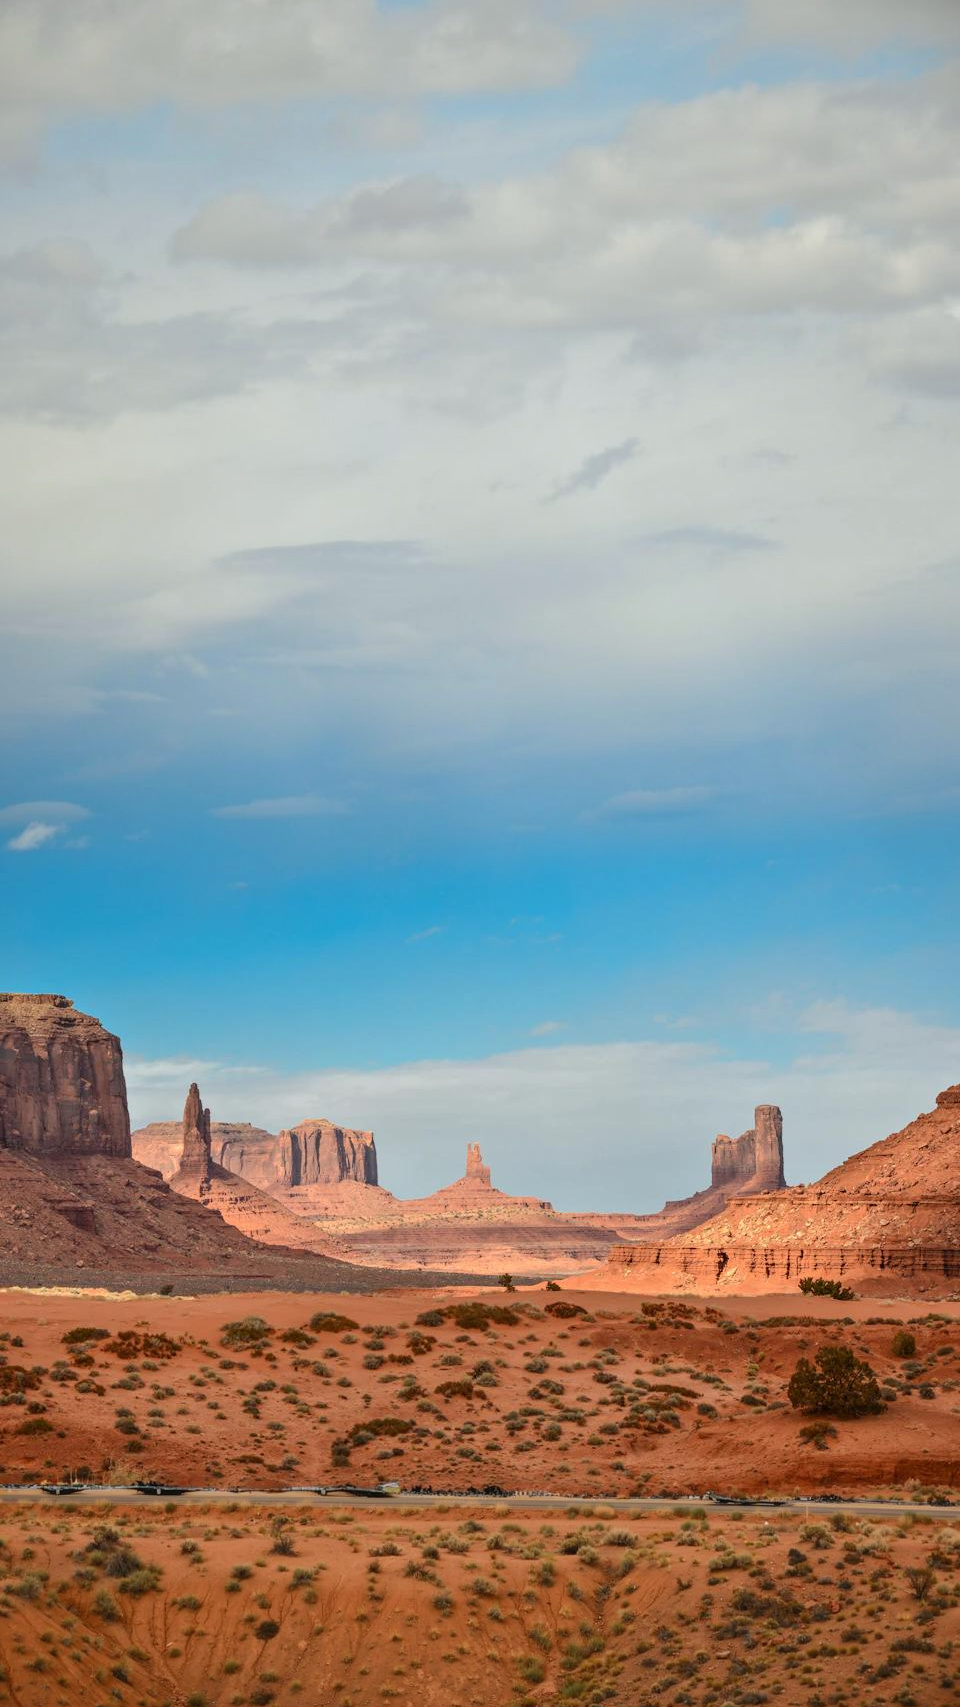
FLUX.2 Pro OutpaintOriginal (JPEG, 960 × 1707)
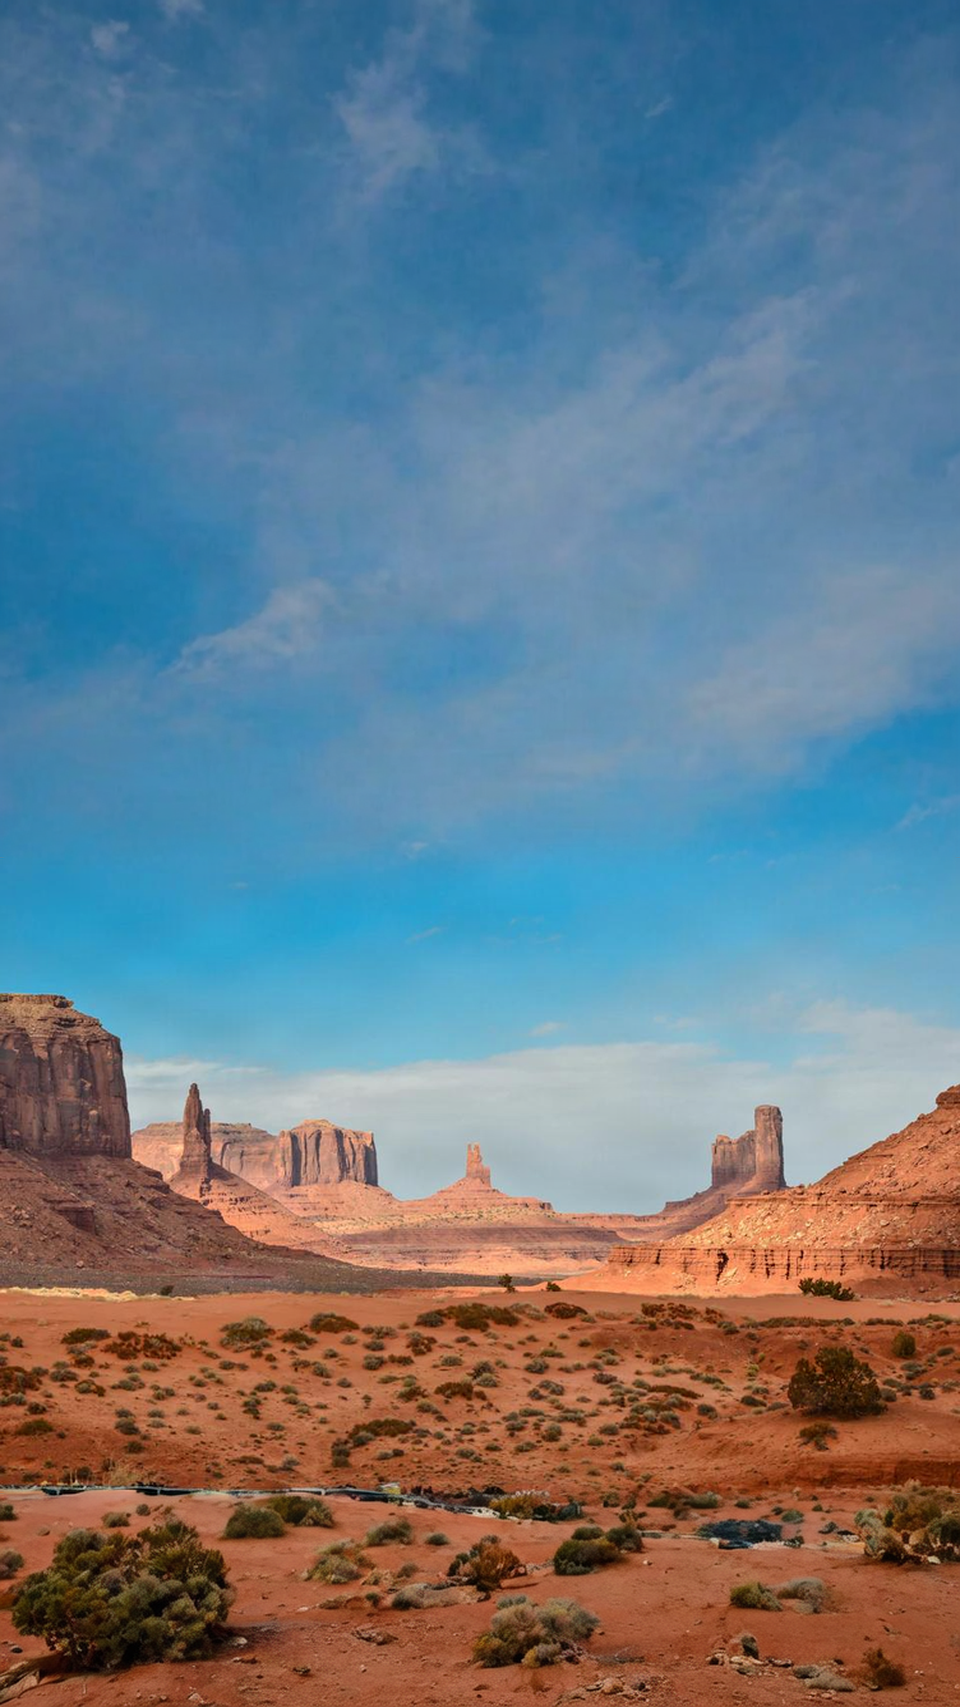
- Bria Expand continued the clear blue sky with thin cloud, closest to the original’s colour. Below, it turned the dark strip into a fence with dark, shapeless heaps beside it, the one part of these results that looks wrong.
- Bria FIBO Expand deepened the blue towards the top, like a photograph taken with a polarising filter. It made the strip a tidy fence line, with open sand and bushes below.
- FLUX.2 Pro Outpaint covered most of the new sky in grey-white cloud, so the picture reads as a different, duller day. It made the strip a road and added a sandy gully below. White text would need a darker panel behind it on that sky.
Test 2: a square portrait to a 16:9 thumbnail
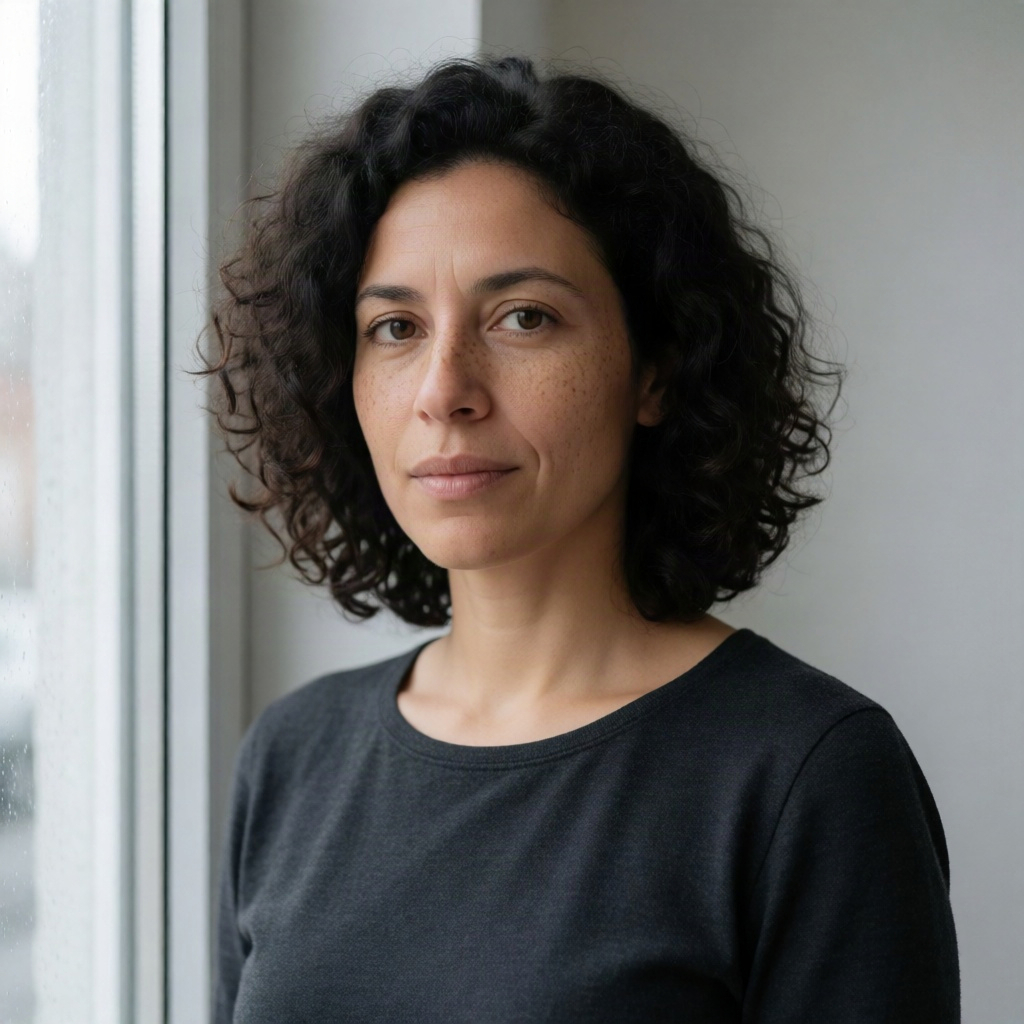
Thumbnails often put the person on one side and the title on the other. Here the portrait sits at the right of the frame, and each model had to continue the window and wall to its left: straight lines, where a bad join is easy to spot.
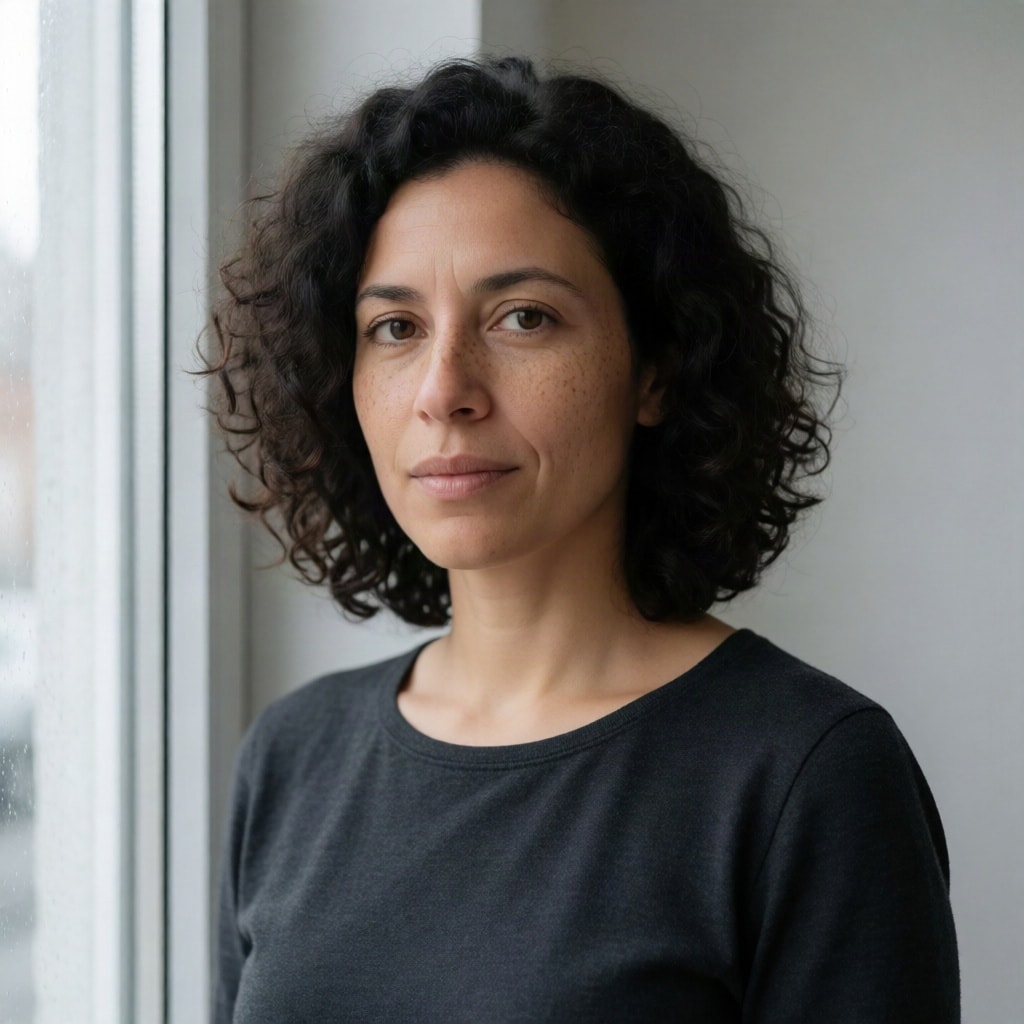
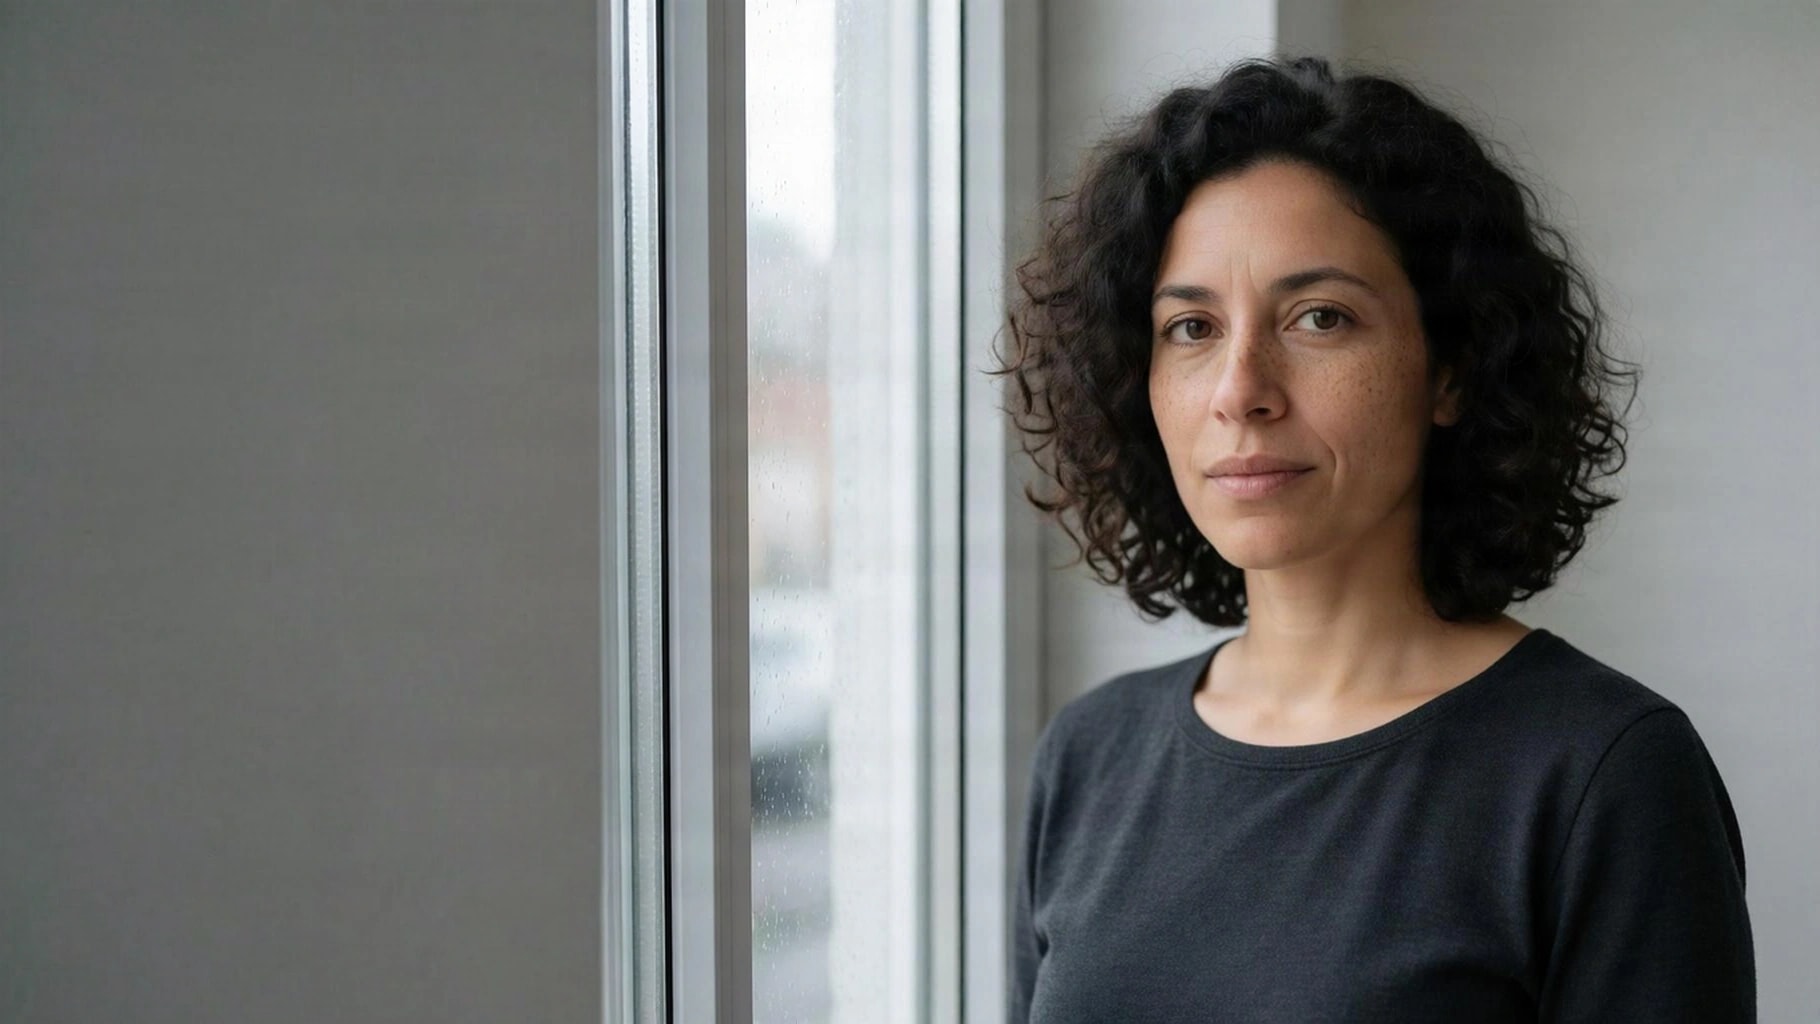
Bria ExpandOriginal (PNG, 1820 × 1024)
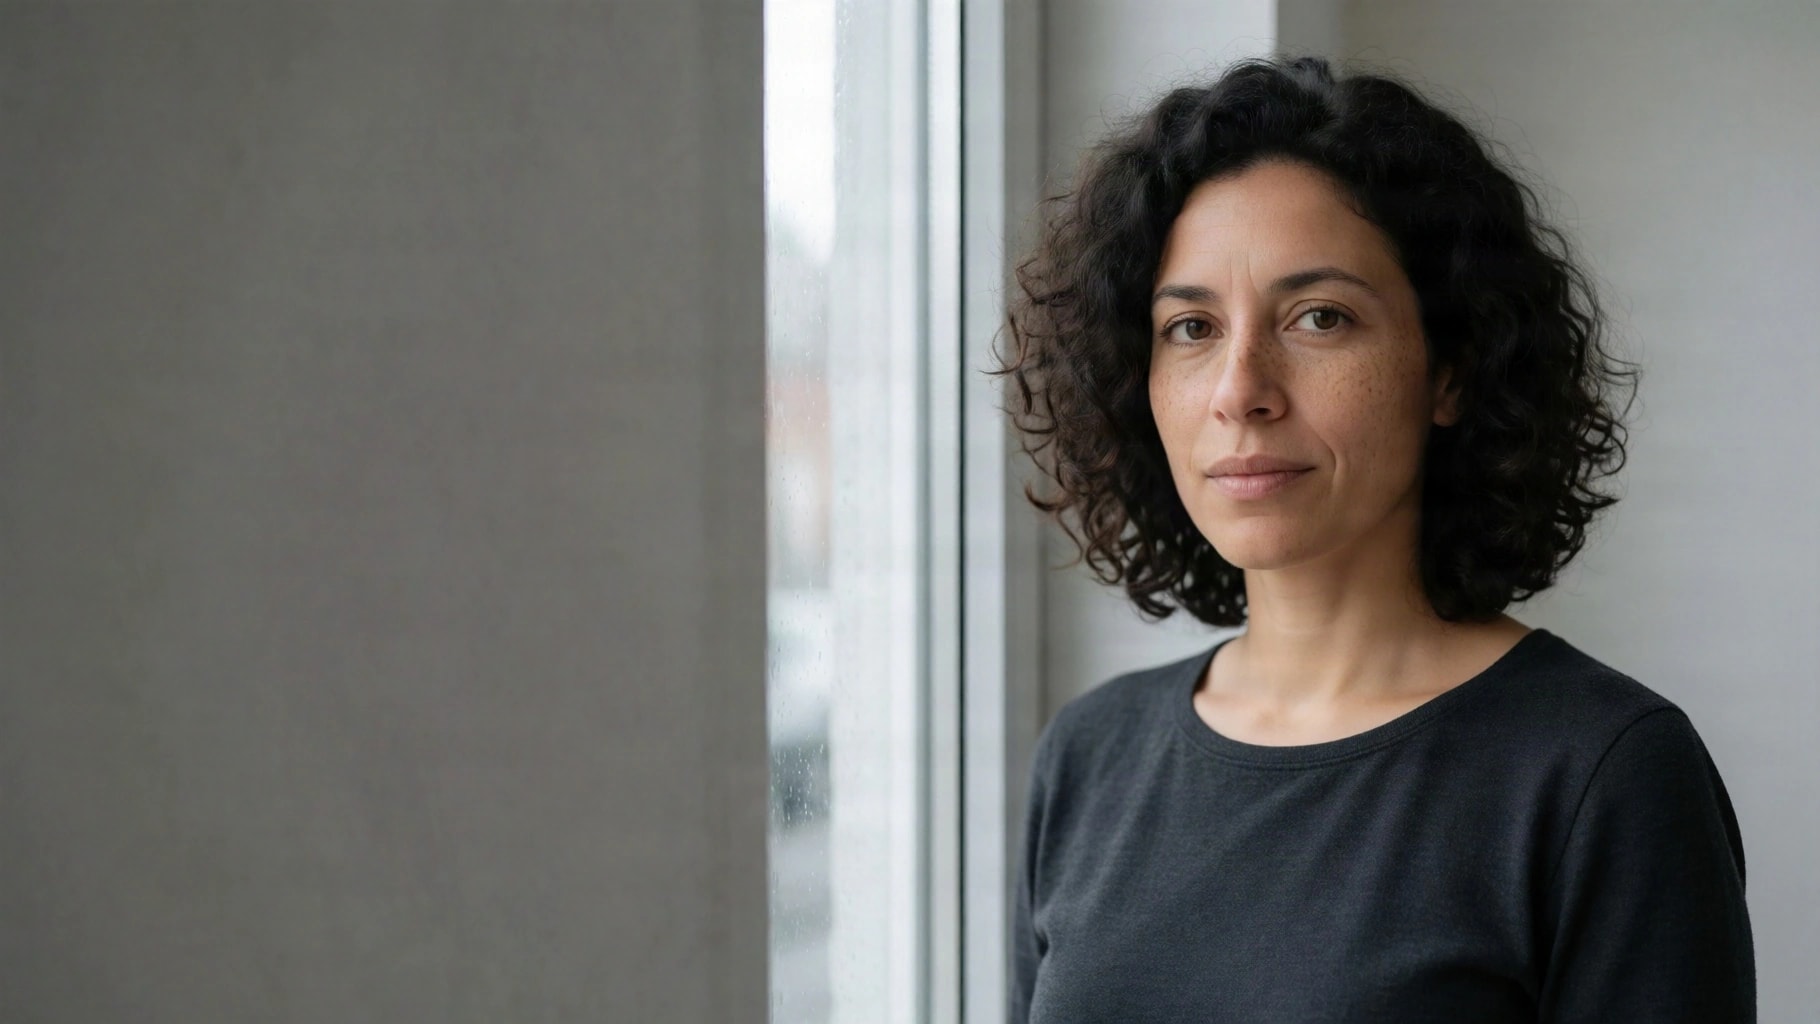
Bria FIBO ExpandOriginal (PNG, 1820 × 1024)

FLUX.2 Pro OutpaintOriginal (JPEG, 1820 × 1024)
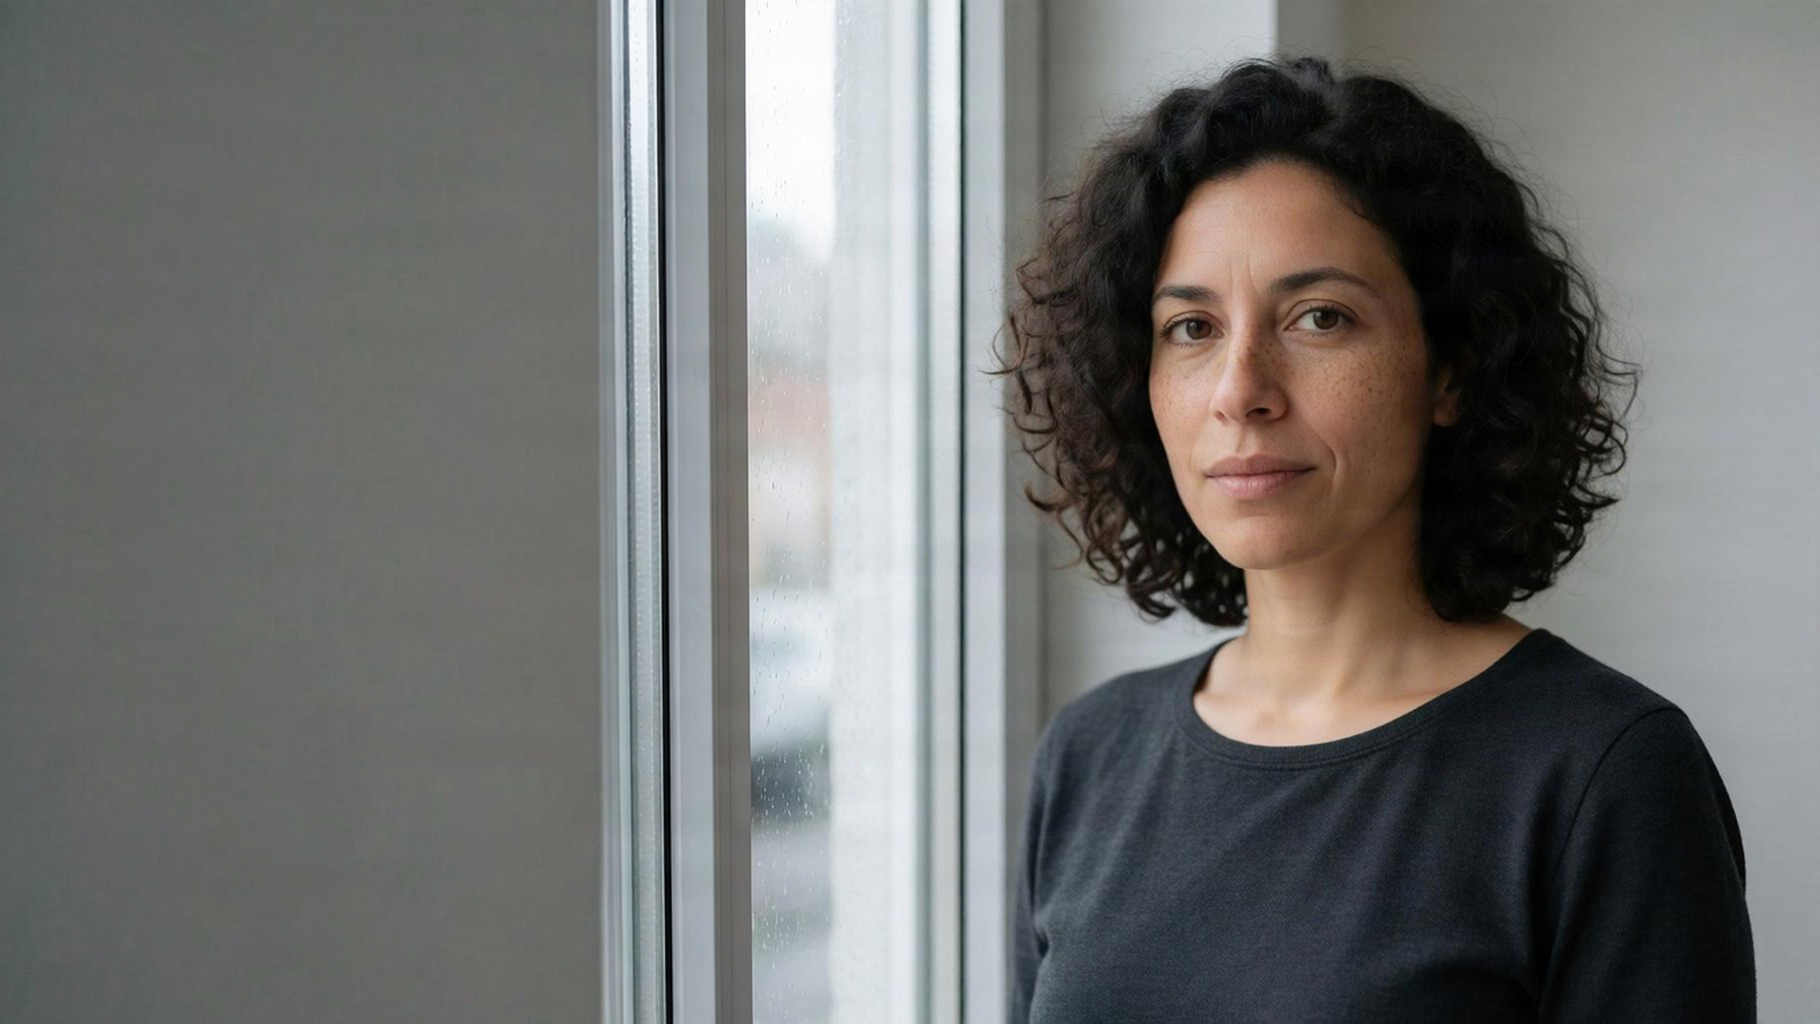
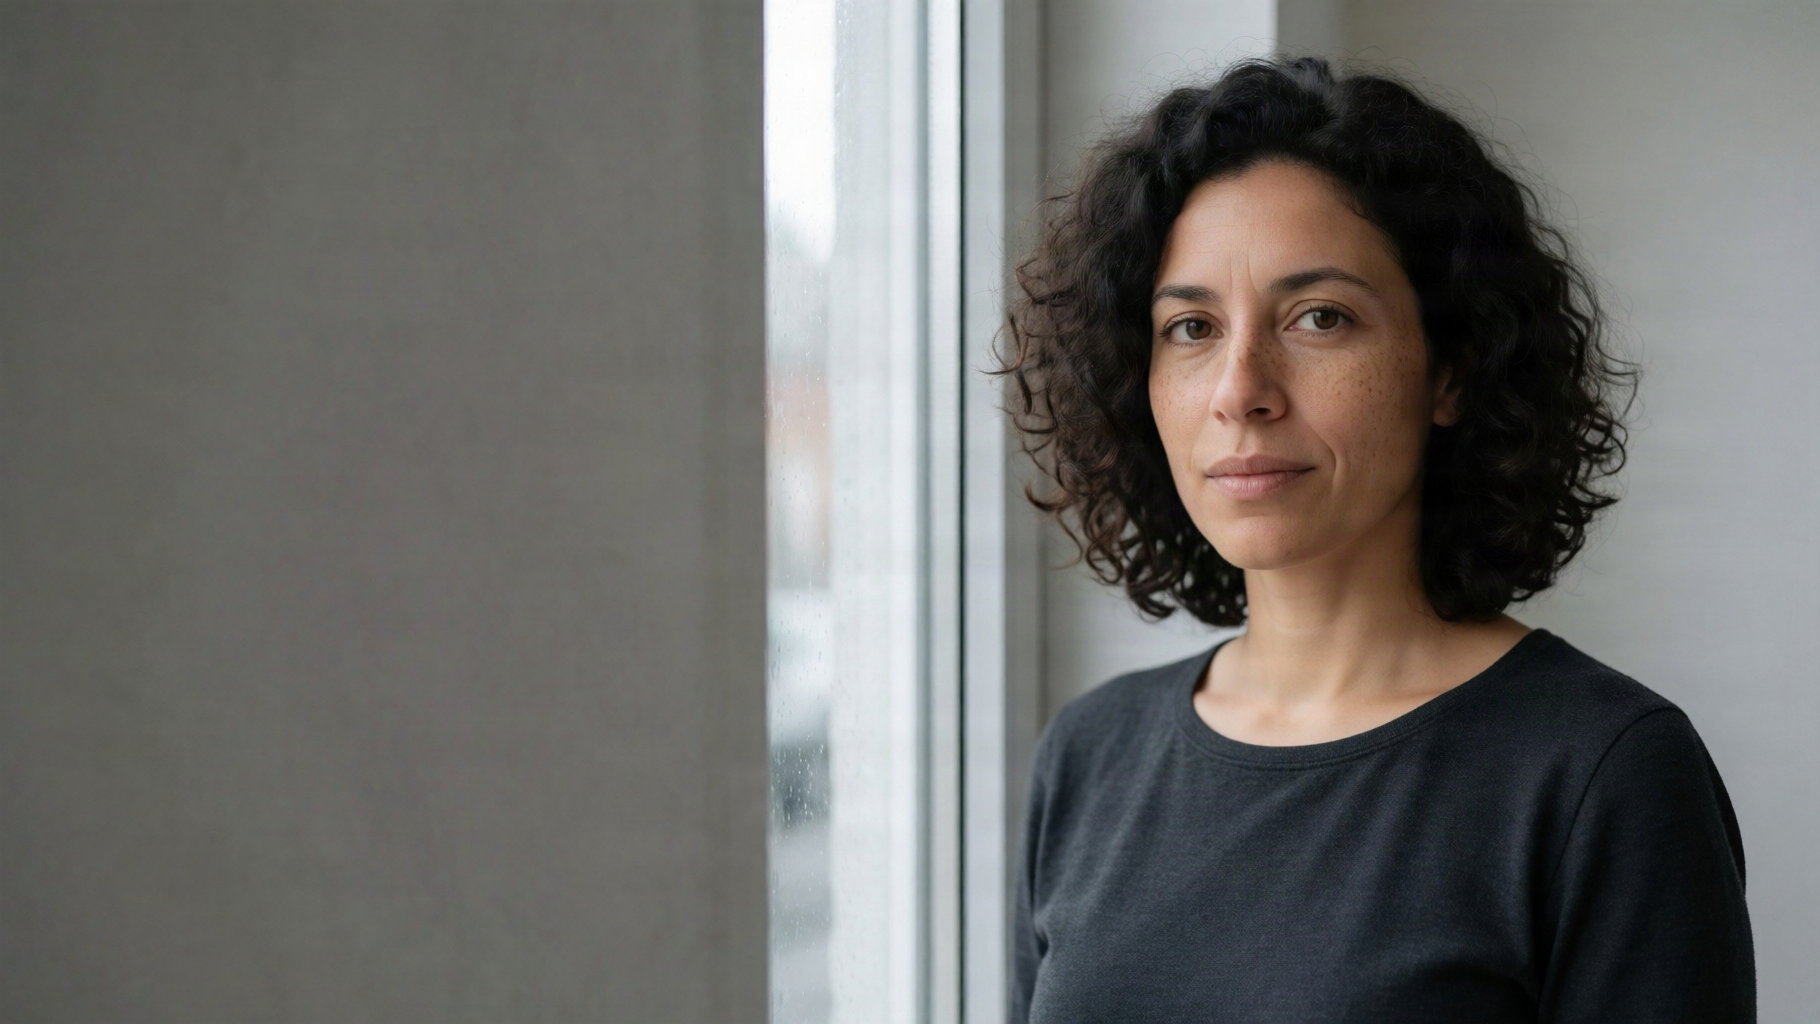

- Bria Expand added a second window frame and then a plain grey wall.
- Bria FIBO Expand filled almost all of the new space with a plain grey wall, which leaves the most room for a headline.
- FLUX.2 Pro Outpaint opened the window into a large pane with a blurred city view. It is the most photographic result and explains the soft light on her face, but it is a busy, bright background for text.
Test 3: a product shot extended on every side
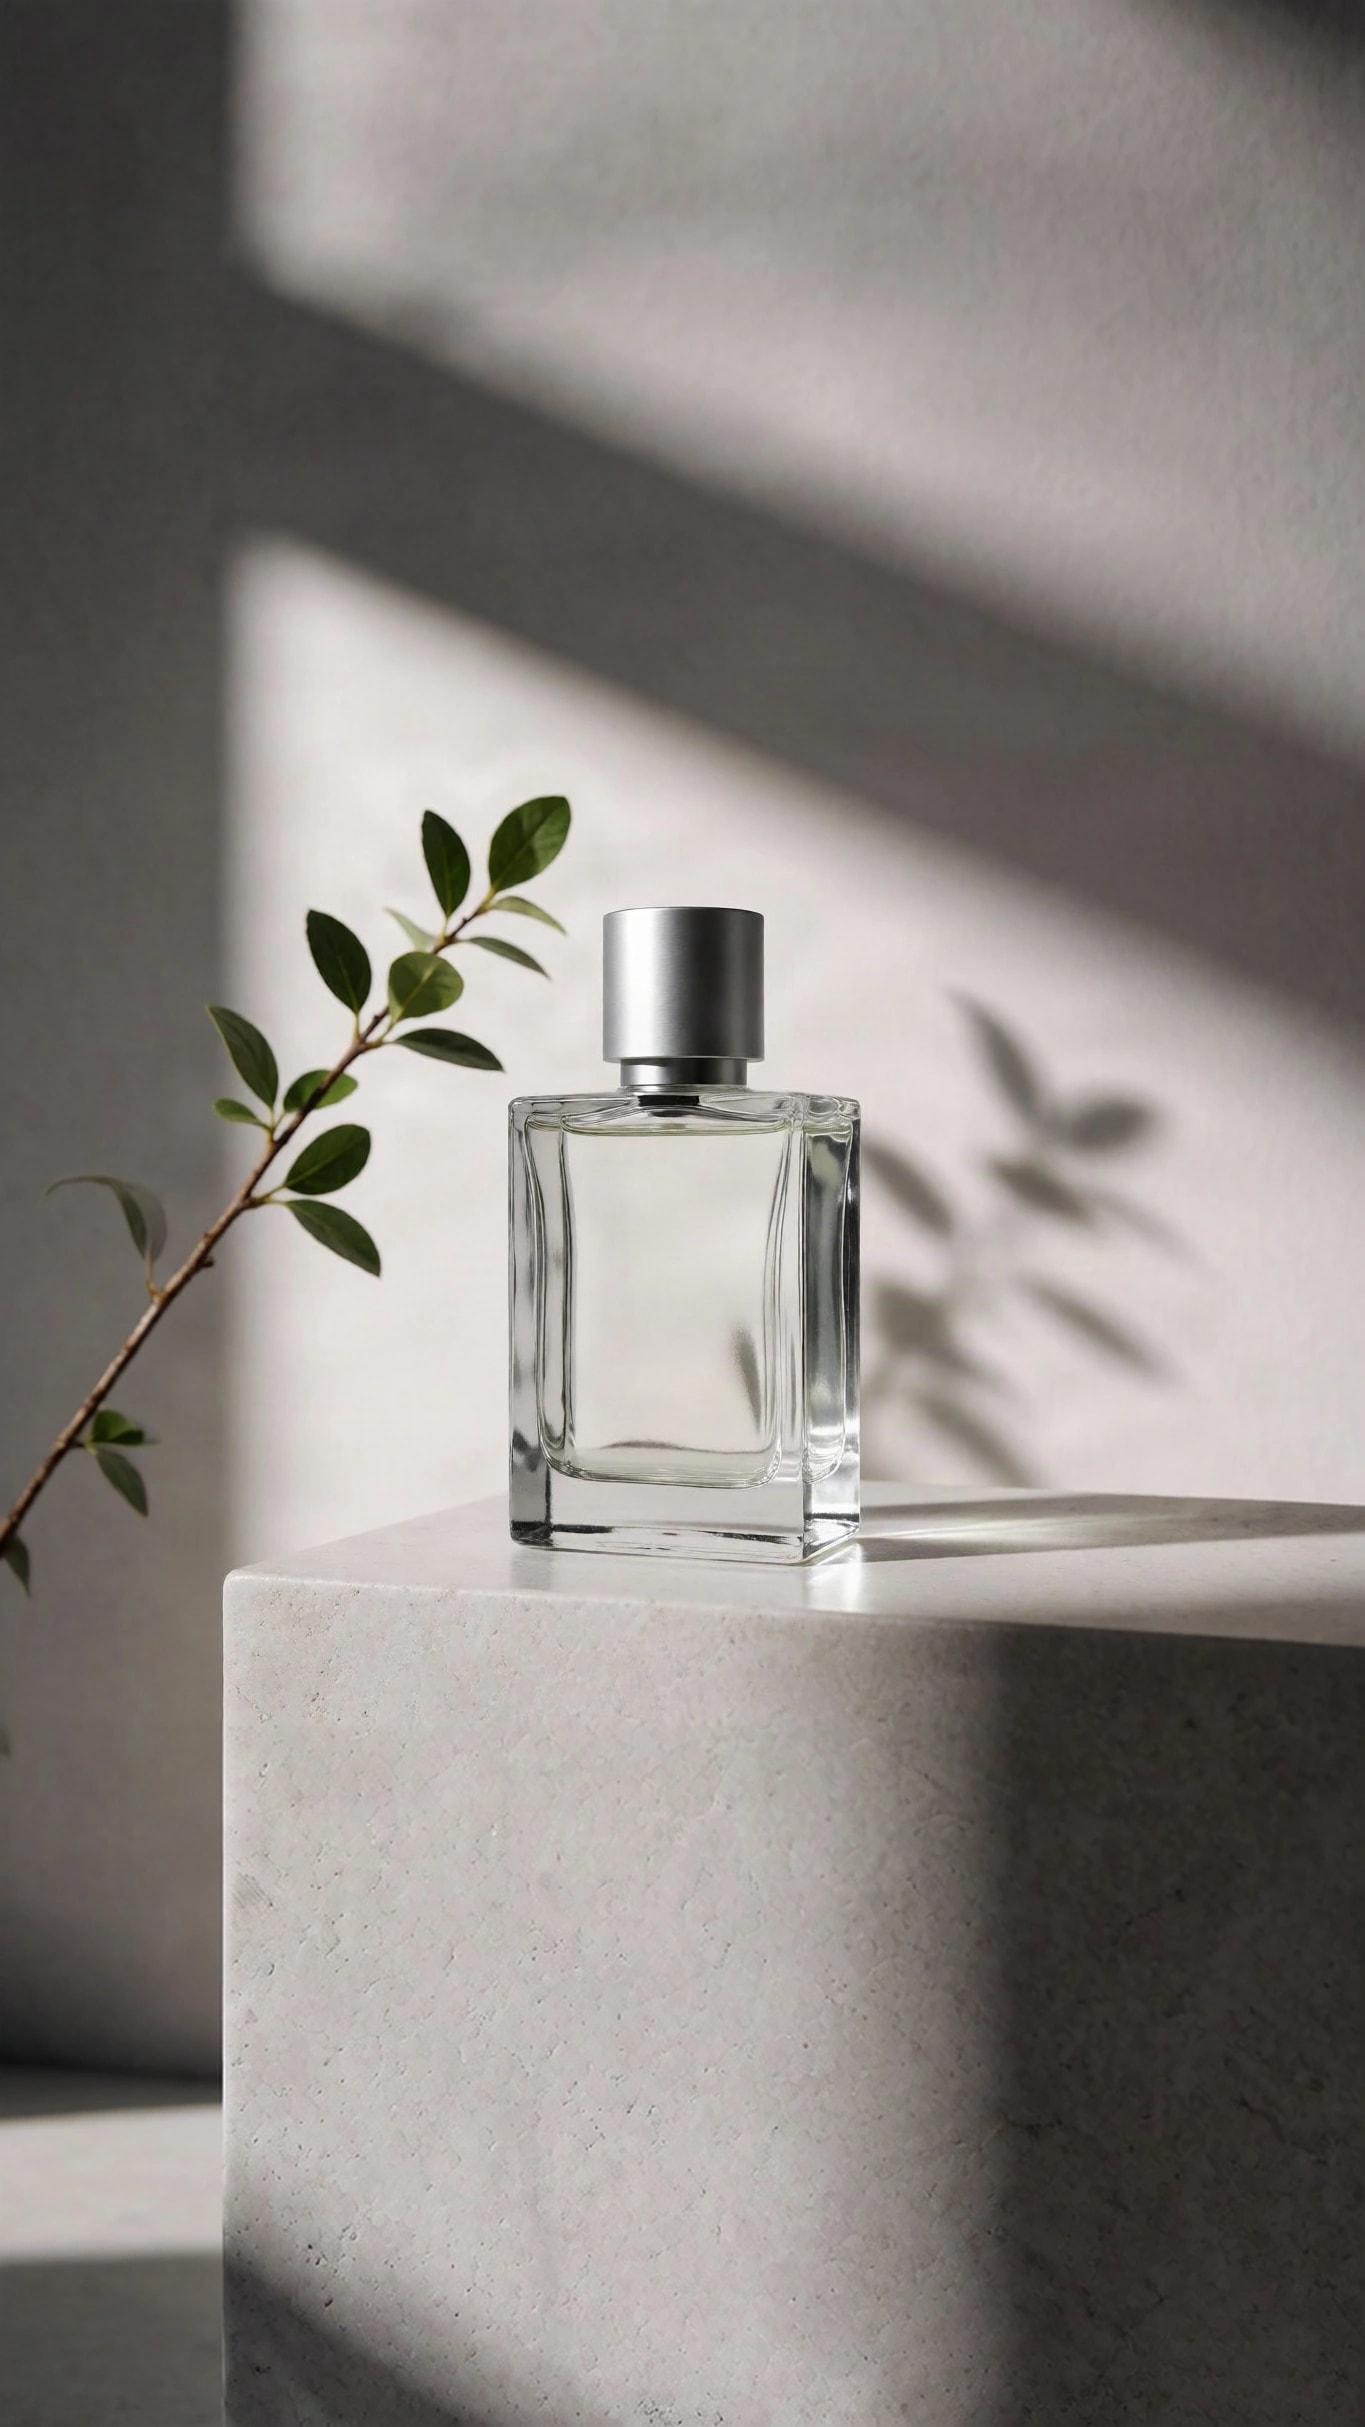
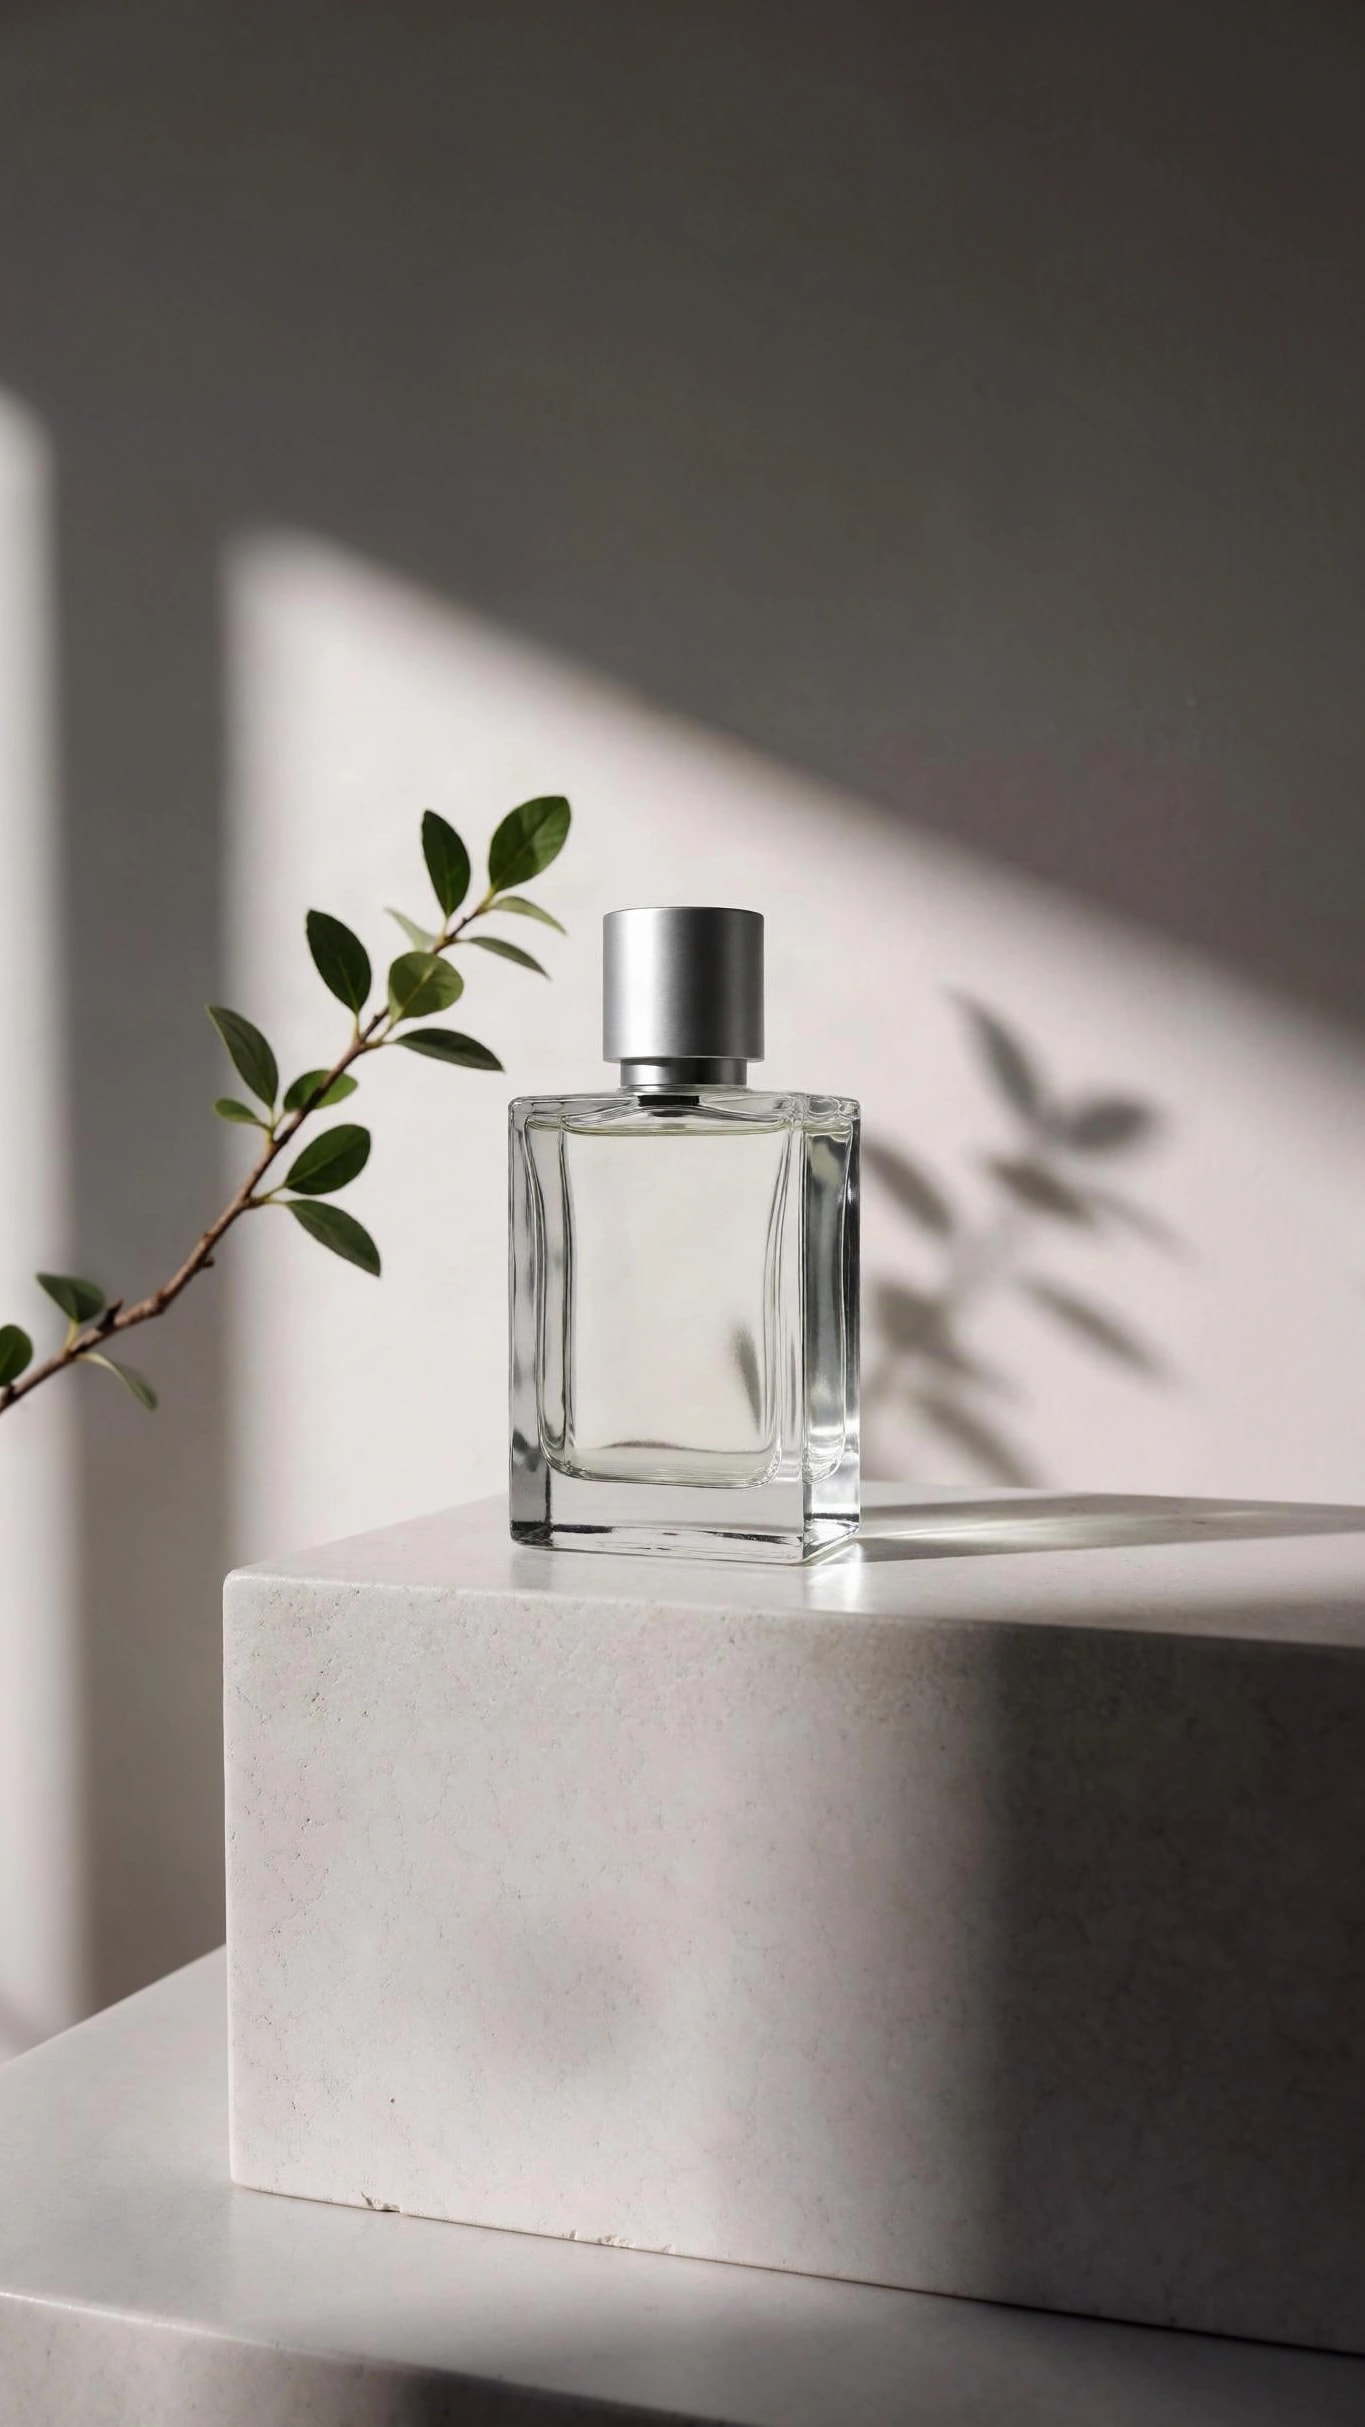
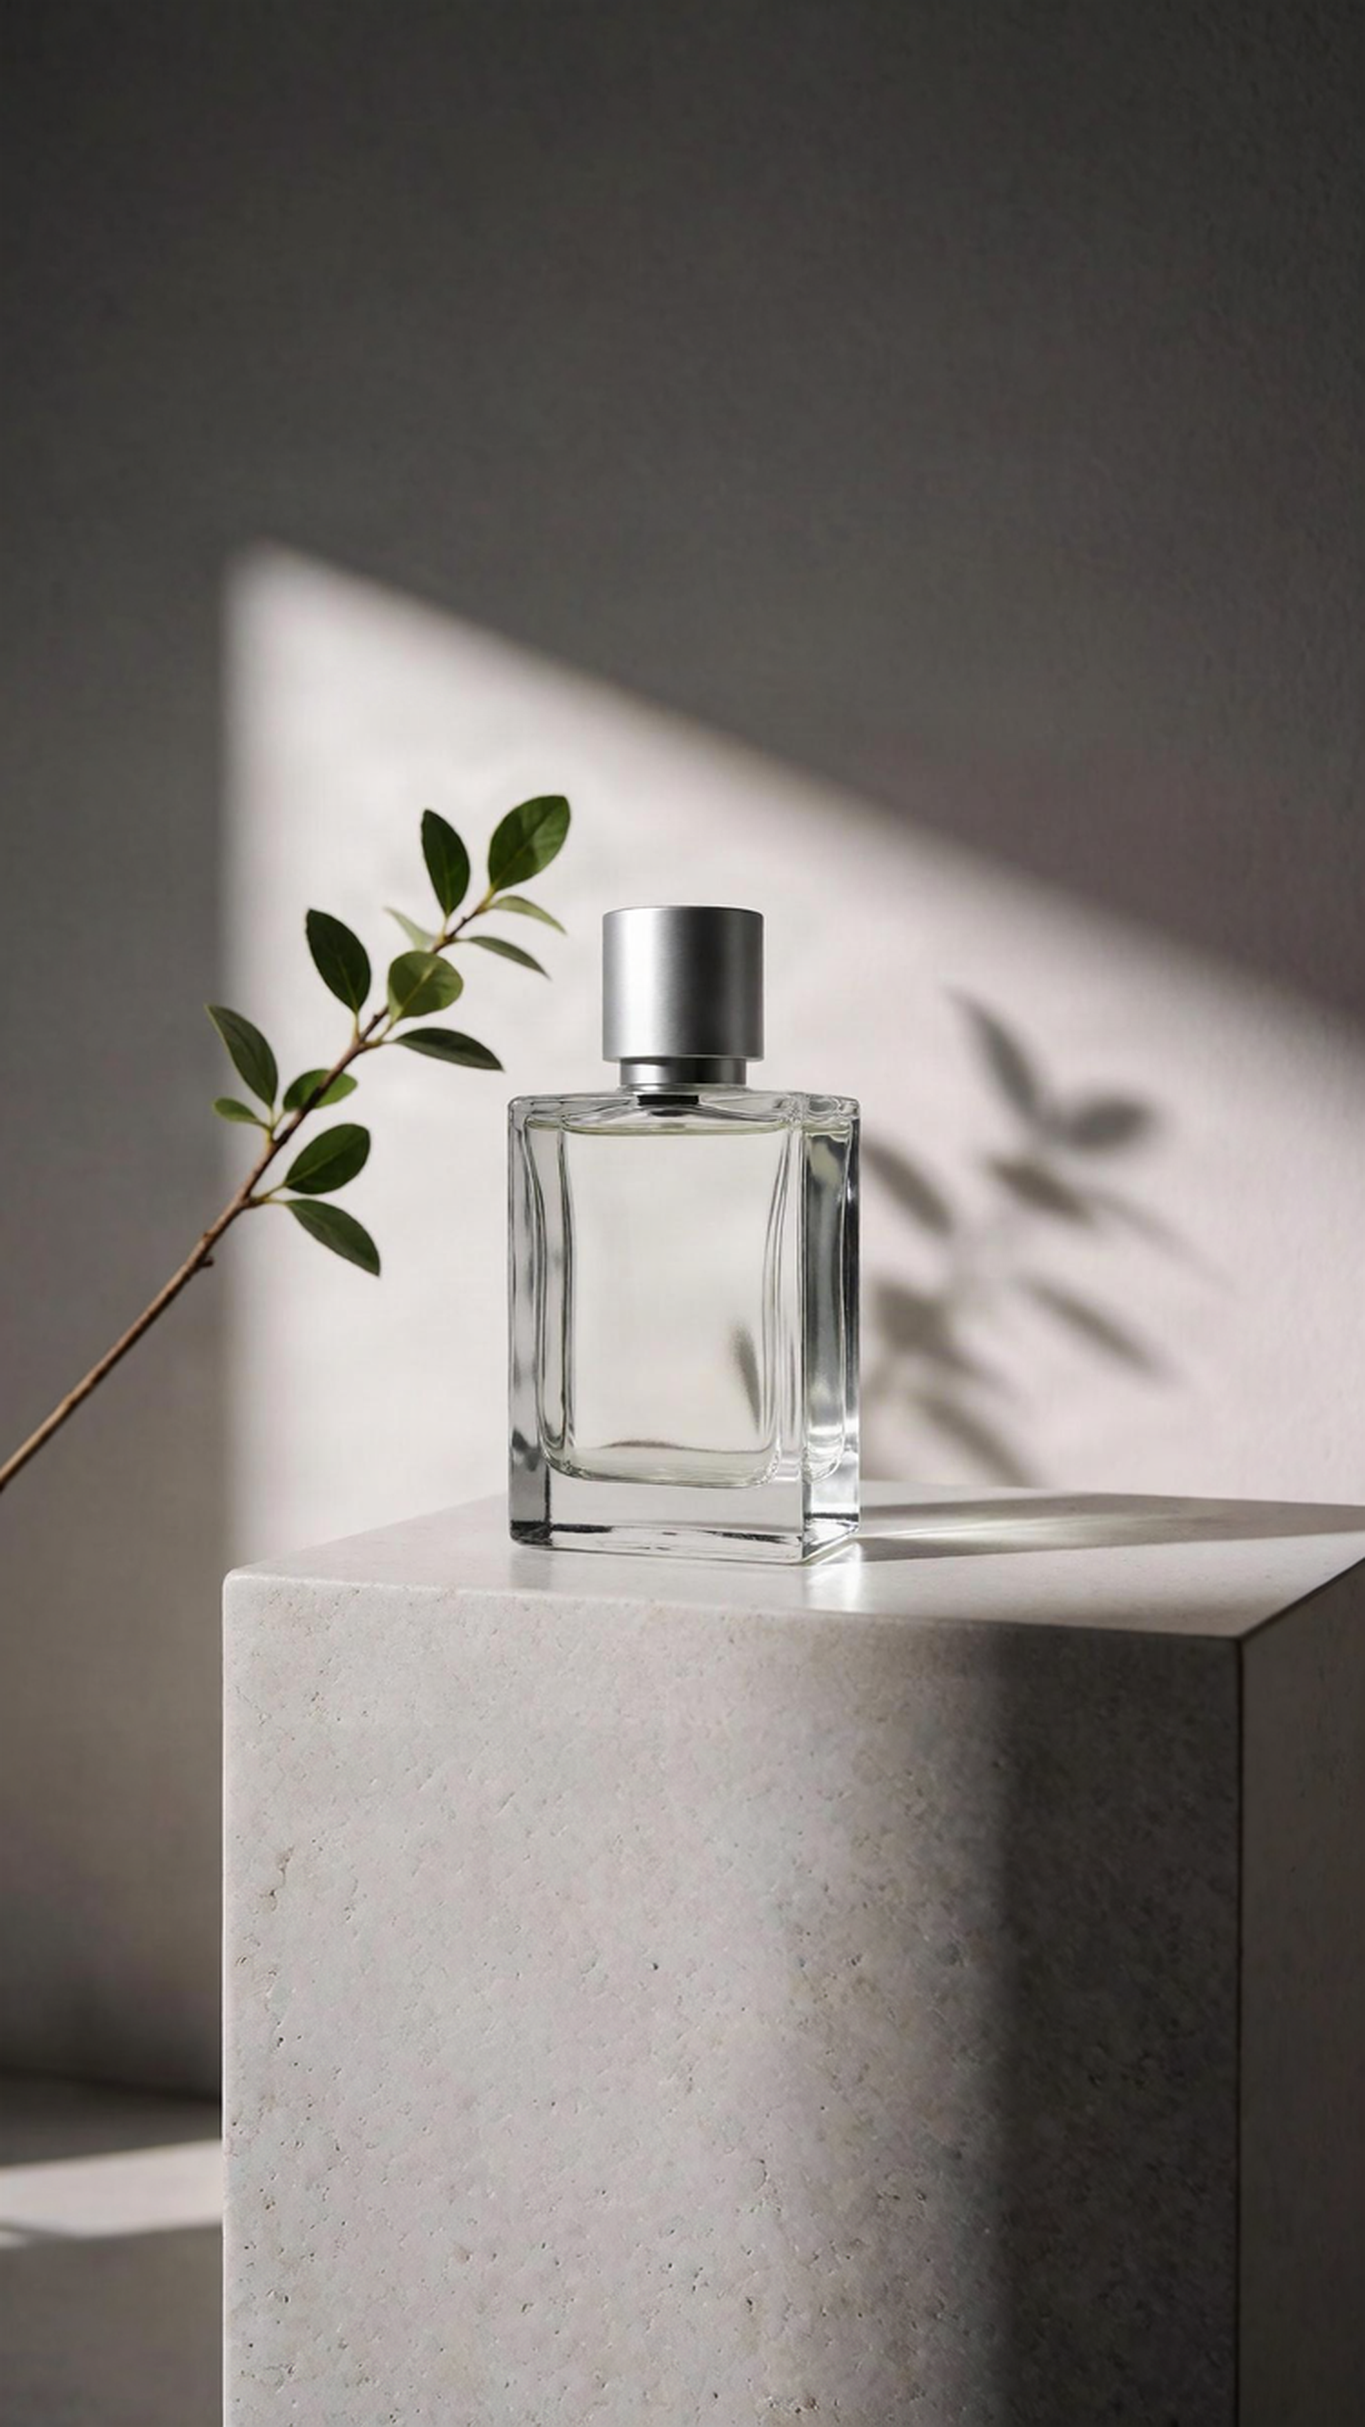
Shrinking the image in the frame makes the model add space on all four sides. The plinth, the branch and the shadows all cross the edges, so each one has to carry on convincingly.
Bria ExpandOriginal (PNG, 1365 × 2427)
Bria FIBO ExpandOriginal (PNG, 1365 × 2427)
FLUX.2 Pro OutpaintOriginal (JPEG, 1365 × 2427)
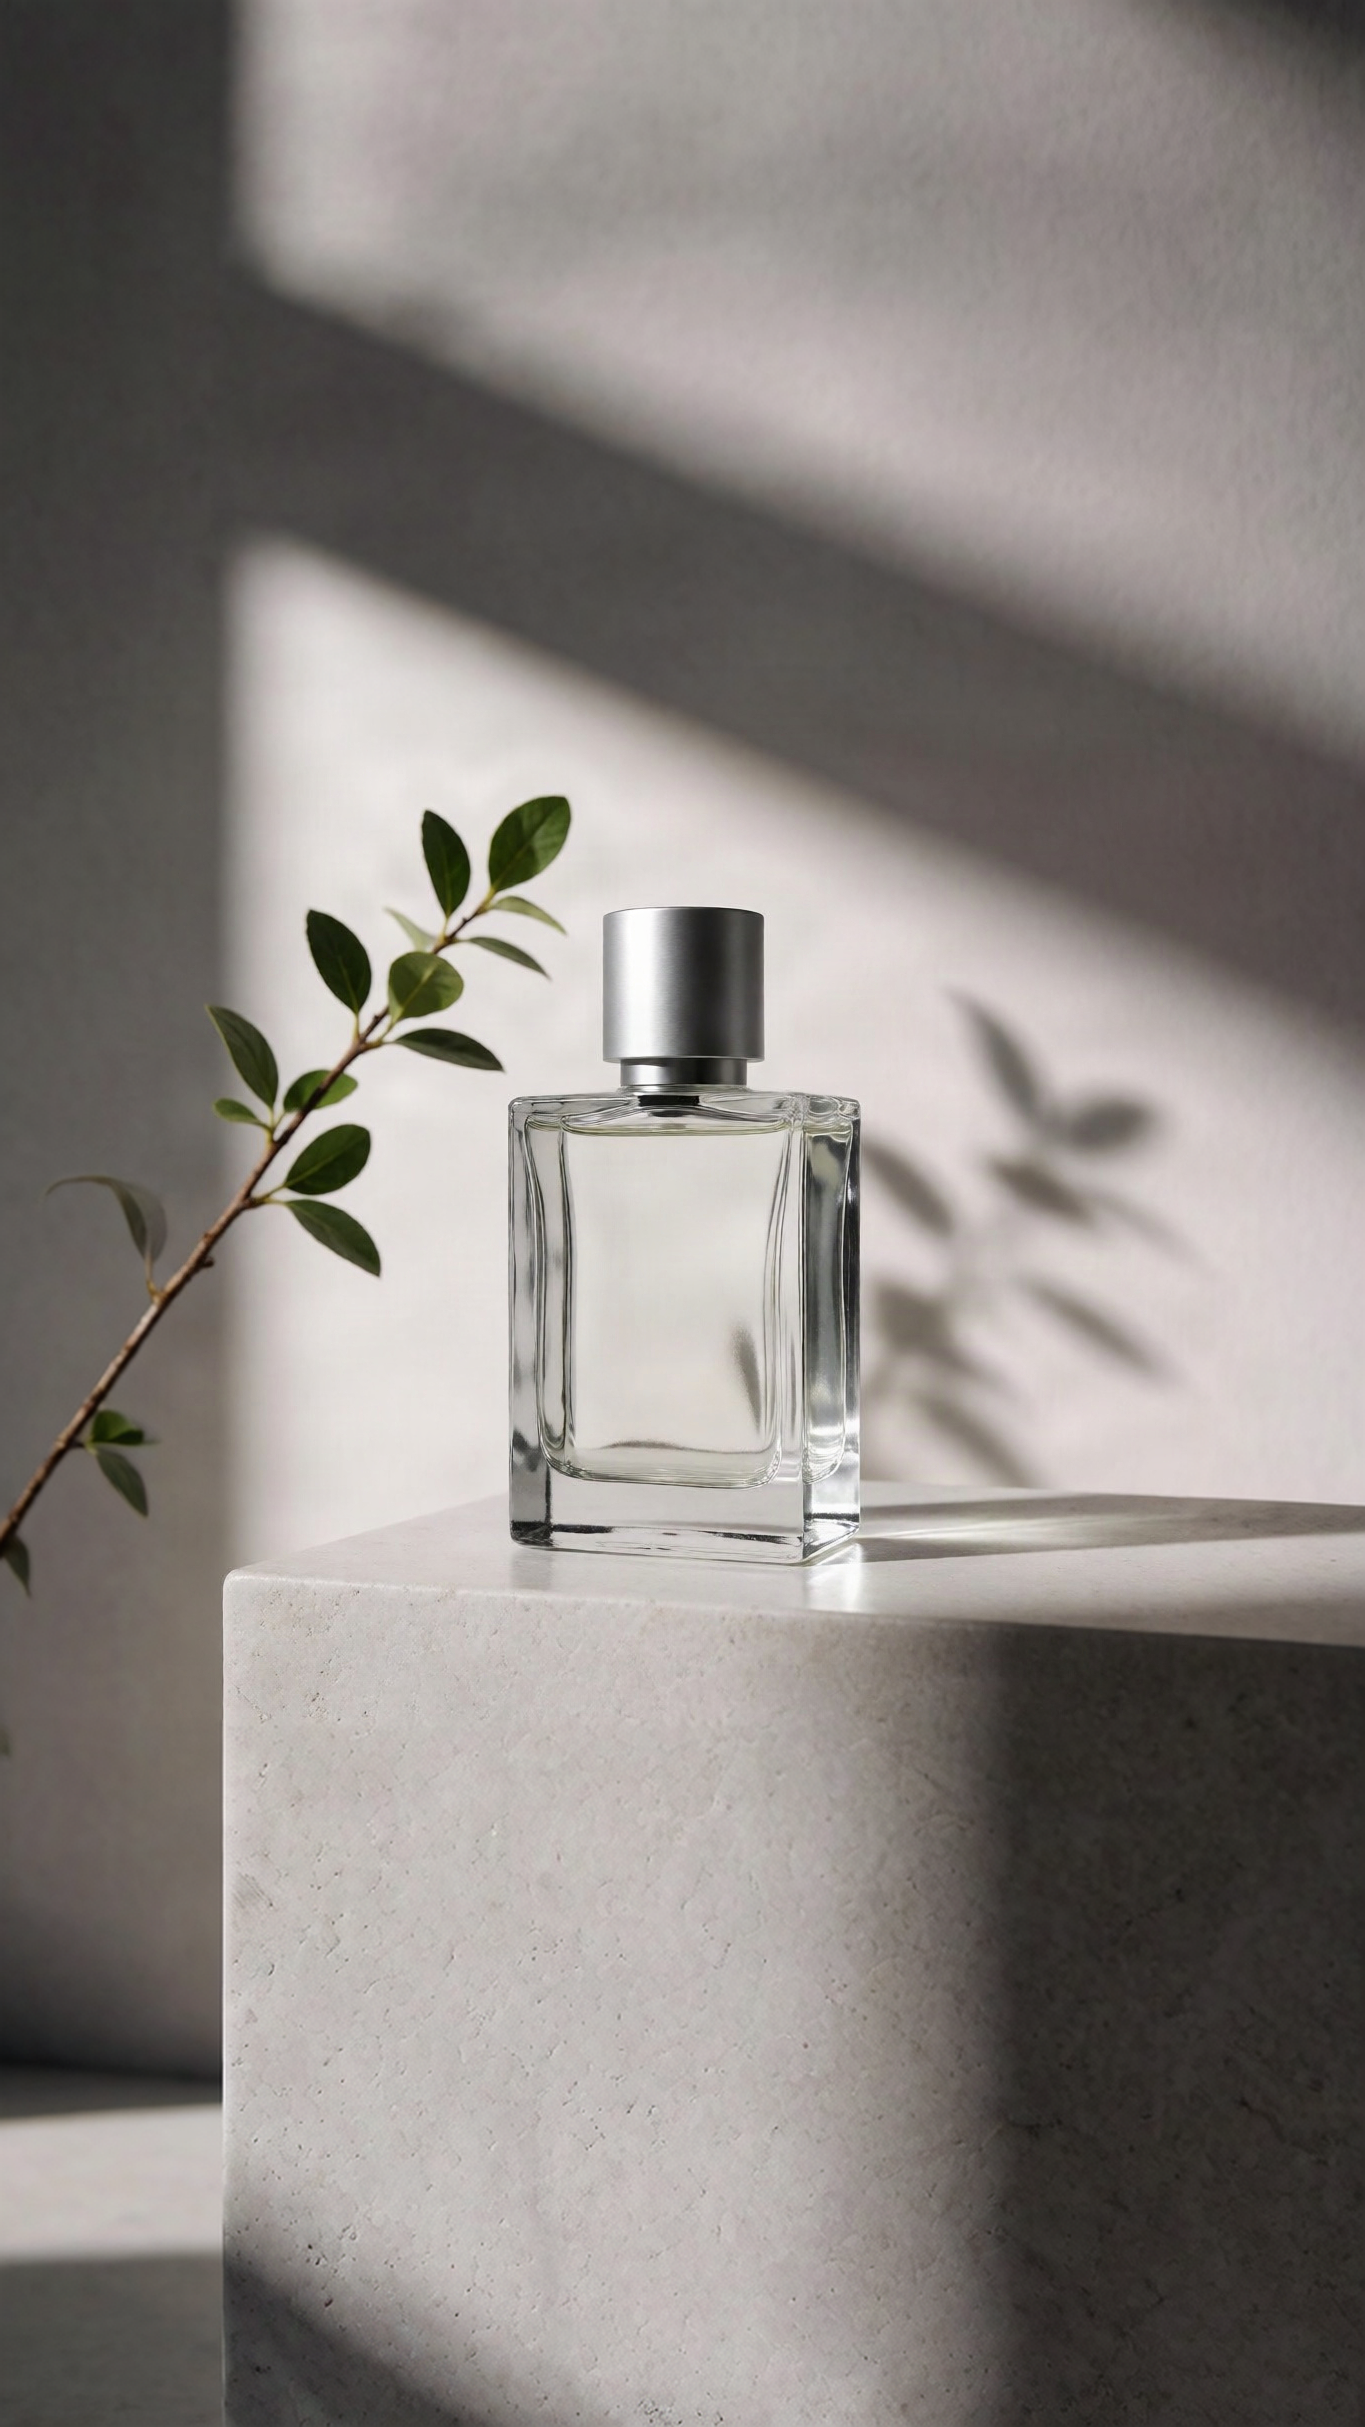
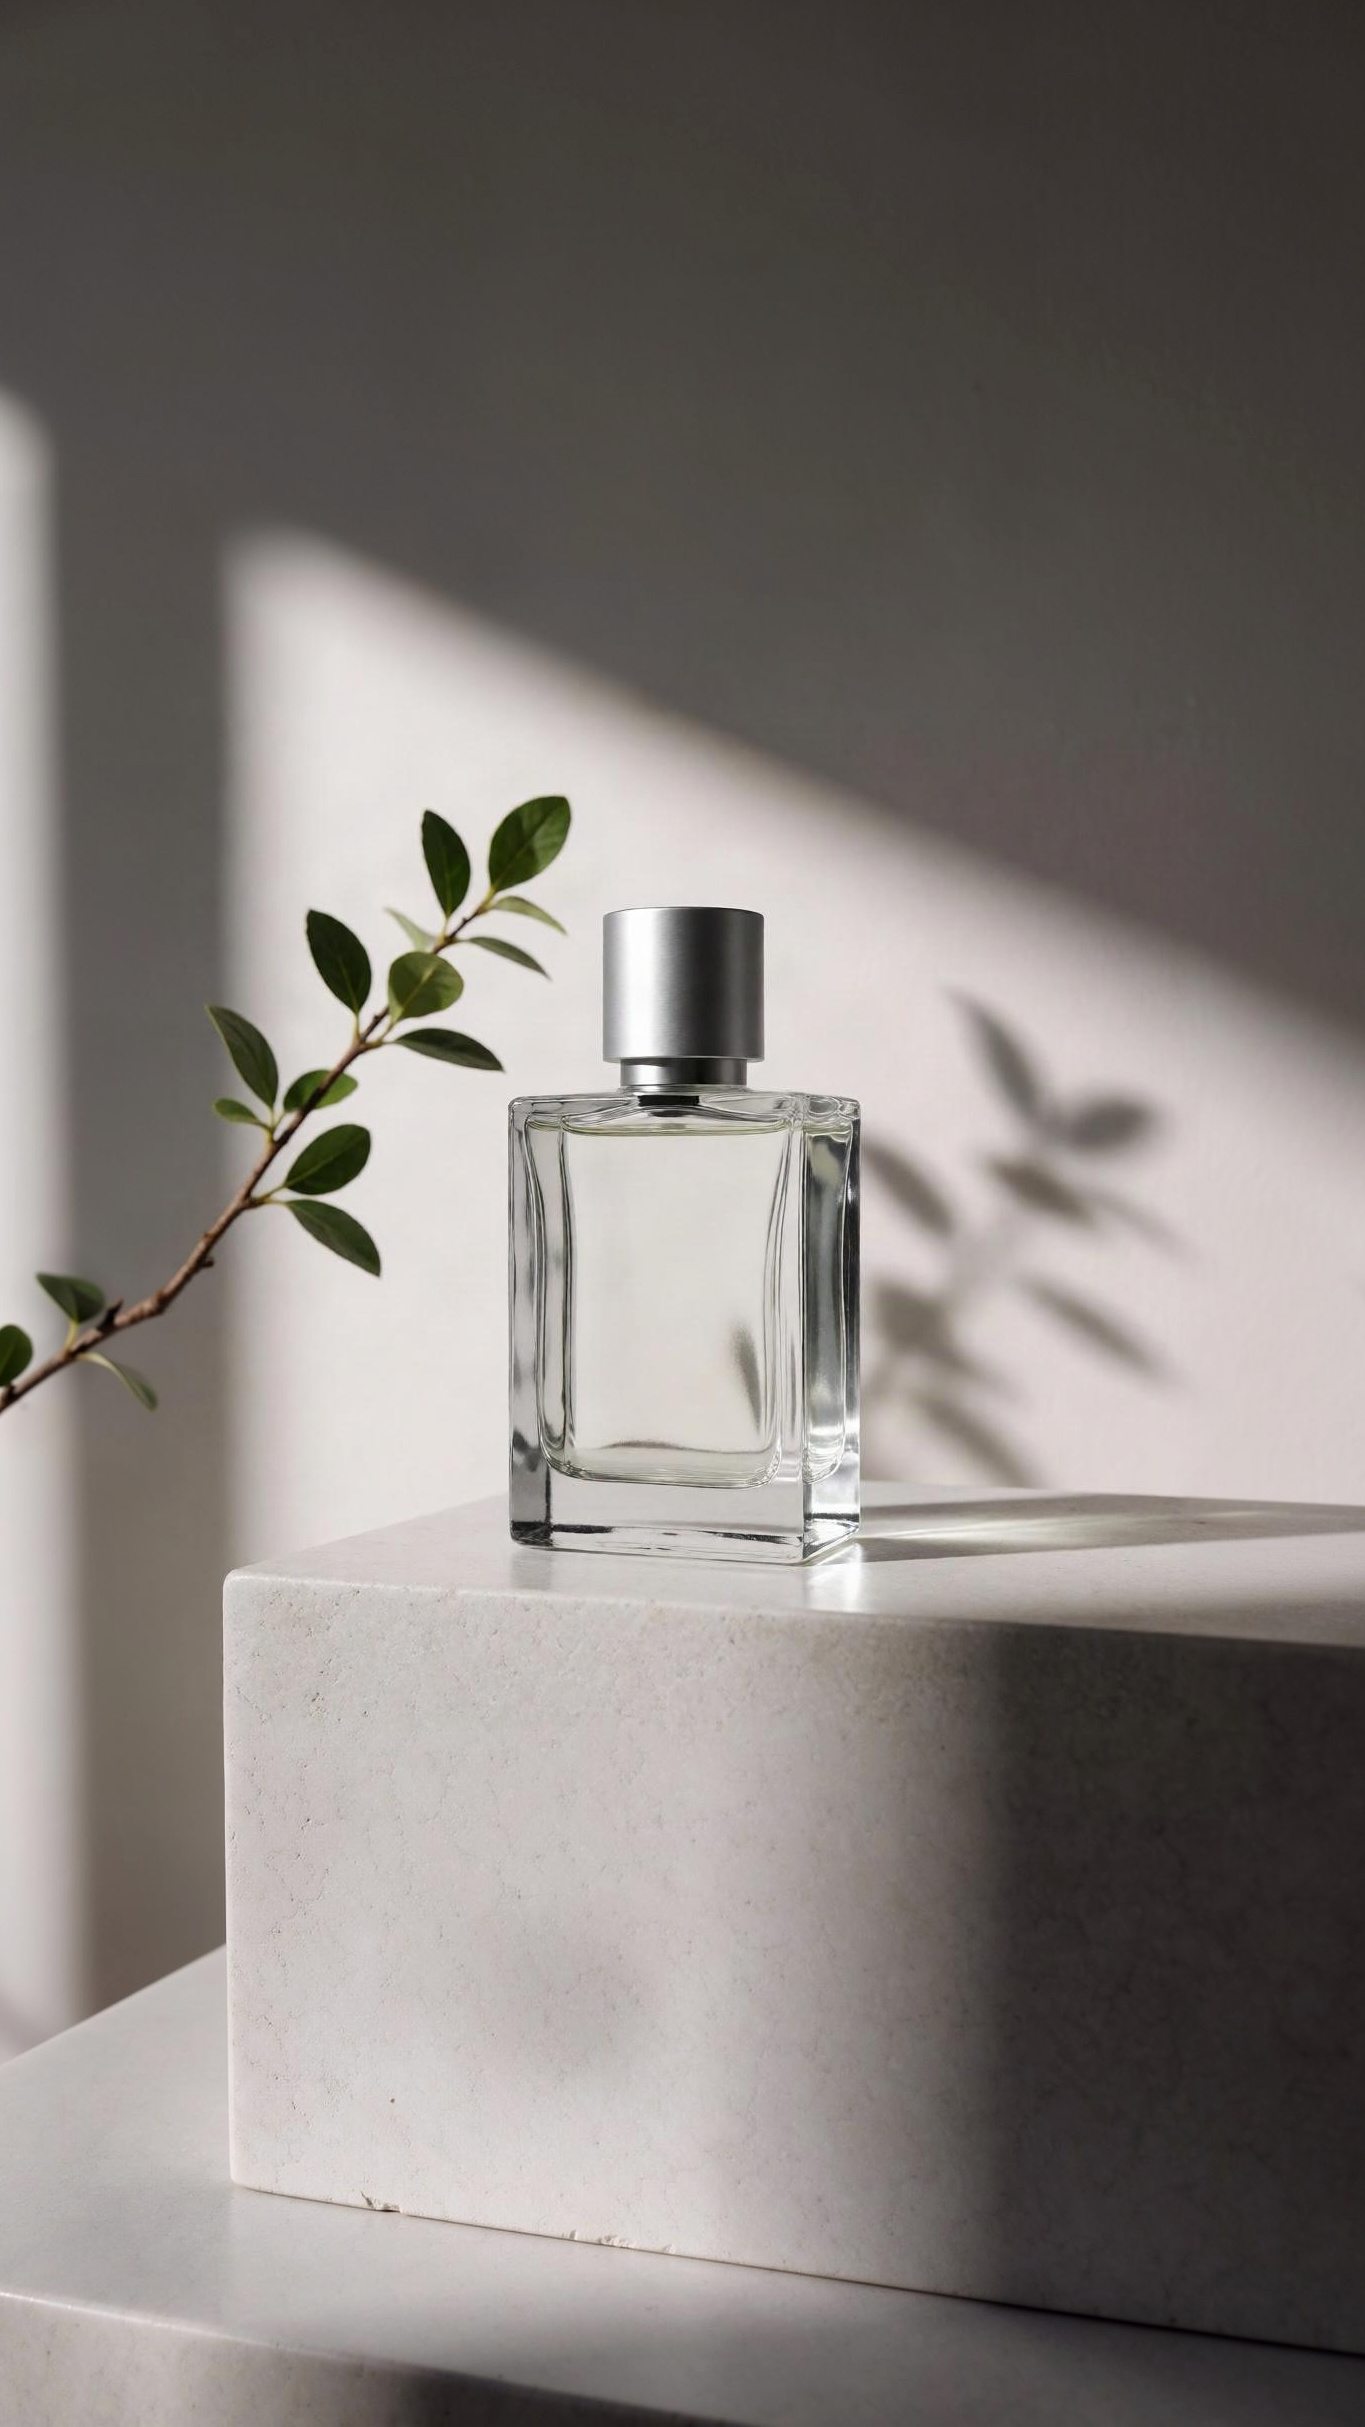
- Bria Expand continued the plinth down to the bottom of the frame as a tall stone block, and the branch to the left edge.
- Bria FIBO Expand added a second band of sunlight across the wall above, a natural repeat of the window light, and gave the branch a few more leaves.
- FLUX.2 Pro Outpaint stood the plinth on a lower step and added a pale wall edge at the far left. It invented the most, but nothing in it looks out of place.
Did they keep the original?
An expand model is meant to paint only the new area. We compared the part of each result where the original sits with the original itself.
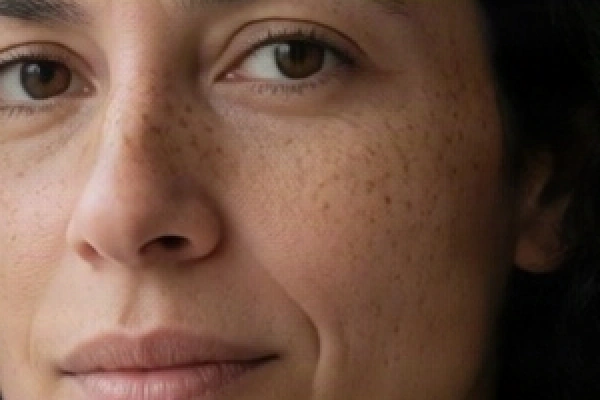
- Bria FIBO Expand returned it unchanged, within one or two levels of brightness out of 255 on average.
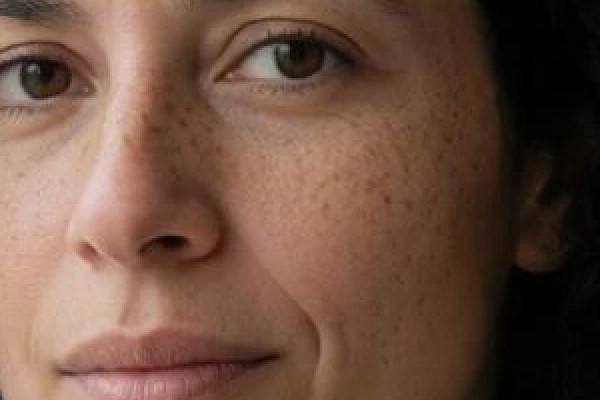
- FLUX.2 Pro Outpaint came very close. Its copies were slightly softer in the landscape and the portrait.
- Bria Expand redrew the whole picture. Its colours match, but by a standard edge-sharpness measure it kept between a fifth and a half of the original’s fine detail in the three tests. At thumbnail size that is hard to see. Up close it is not.
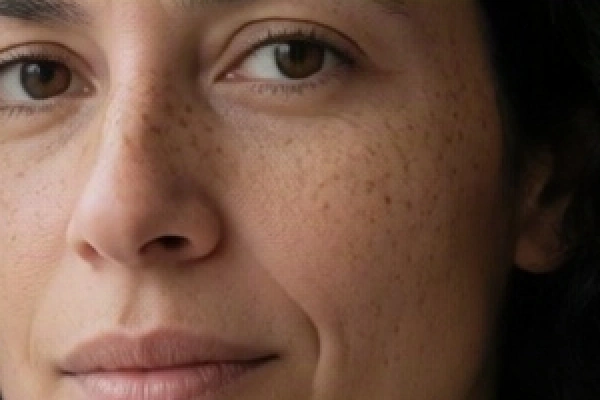
Original
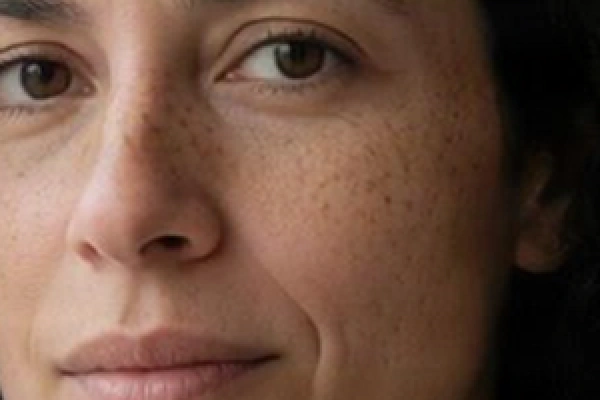
Bria Expand
Bria FIBO Expand
FLUX.2 Pro Outpaint
What we would take from this
- To keep your image untouched, Bria FIBO Expand did it exactly here and FLUX.2 Pro Outpaint nearly so.
- For plain space to put a headline on, Bria FIBO Expand made the plainest continuations: an empty wall, an open sky.
- For the most photographic scene, FLUX.2 Pro Outpaint invented the most, from a city view to a change in the weather. Check that it still matches the mood you want.
- Bria Expand continued each scene sensibly but softened the original, so it suits pictures that will only be seen small.
- Try more than one. The models disagree about what lies outside the frame, and you will usually like one result much more than the others.
Extend your own image in Pickframe
- Open an image saved in your account in the editor and switch to the layout you want to fill, such as 4:5, 9:16 or 16:9.
- In the AI edit tab, choose Expand canvas. The preview shades the area to fill. Use Image size and the position sliders to place your image.
- Tick the models to compare and run the edit. The button shows the credit cost first, and each model makes its own version.
- Choose the result you like under Image for this layout. Your text and logo layers stay on top, and every social size drawn from that layout uses it.
The full workflow, from one image to a thumbnail, a square post and a vertical cover, is in how to turn one image into a YouTube thumbnail, square post and vertical cover. Every original, the exact requests, the canvas sizes, the checksums and the measurements for these nine results are in the public manifest.