How to turn one image into a YouTube thumbnail, square post and vertical cover
If you publish video, one image often has to work in three shapes: a 16:9 thumbnail, a square post, and a vertical cover for Shorts, Reels or Stories. Cropping each one by hand in a separate file is slow, and the headline ends up somewhere slightly different every time. This workflow keeps one image, one headline and three layouts together, extends the picture with AI where a crop would cut too much, and exports every size in one go.
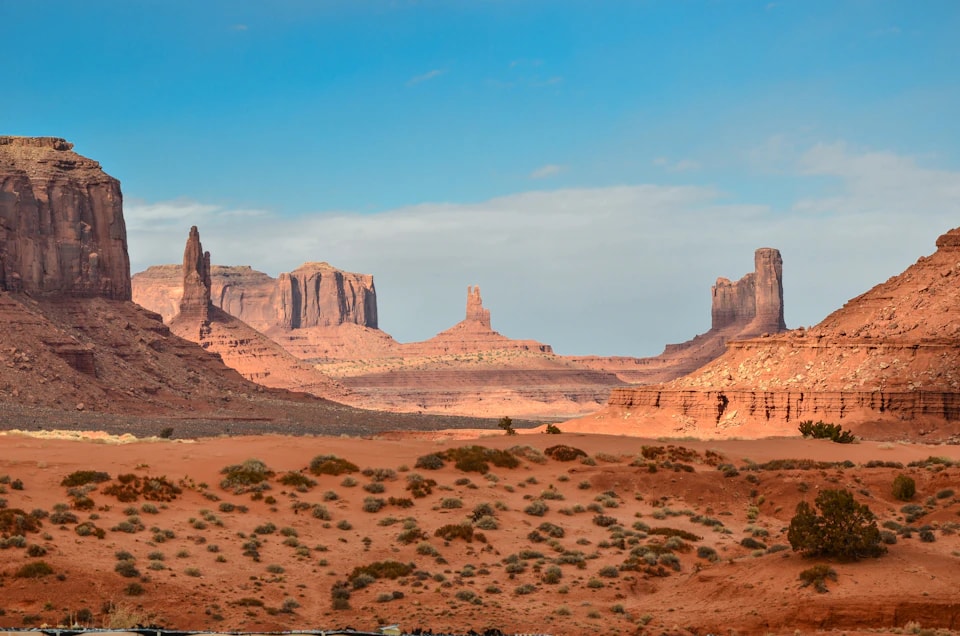 Into the valley
16:9 thumbnail
- Into the valley
1:1 square
- Into the valley
9:16 vertical
The three layouts and the sizes they make
| Layout | Sizes in the pack | Typical use |
|---|---|---|
| 16:9 landscape | YouTube thumbnail 1280 × 720, X post 1600 × 900, Facebook and LinkedIn link 1200 × 628 | Video thumbnails, link previews, blog headers |
| 1:1 square | Instagram and Facebook post 1080 × 1080, Instagram portrait post 1080 × 1350 | Square and portrait posts in social feeds |
| 9:16 vertical | Stories, Reels and TikTok 1080 × 1920, Pinterest pin 1000 × 1500 | Shorts thumbnails, Story and Reel covers, pins |
Every size is drawn from the layout nearest in shape. The portrait post and the pin have 4:5 and 2:3 layouts of their own, which follow the square and vertical layouts until you change them. If you arrange only these three, those two sizes lose a little more at the edges, so leave some room around the subject and the headline.
YouTube’s thumbnail help page asks for 16:9 thumbnails at least 640 pixels wide for videos, and 9:16 thumbnails at least 640 pixels tall for Shorts, as JPG or PNG files. Uploads are limited to 2 MB from a phone and 50 MB from a computer, and a Shorts thumbnail can only be added in YouTube Studio on a computer. YouTube recommends 3840 × 2160 for videos and 2160 × 3840 for Shorts, so Pickframe’s 1280 × 720 clears the minimum comfortably but is not the largest size you can upload. (Checked on 31 October 2026.)
1. Start with an image that works in three shapes
- Keep the subject near the centre, with space around it. A 9:16 crop of a 16:9 image keeps only about a third of its width. If that cuts too much, you can extend the image instead (step 4).
- Leave a calm area for the headline, such as sky, a wall or a plain background.
- Real material often works best: a frame from the video, a screenshot or a photograph of your guest. Pickframe accepts PNG, JPEG and WebP images up to 10 MB.
- Generating instead? Choose 16:9 Landscape in the studio, and add “with empty space on the left for a headline, no text” to your prompt. If two results both look right, compare them and choose Share for votes to send a link where others can pick one.
2. Open the image in the editor
In the studio, choose Upload & edit for your own image, or Edit image on a generated result. Crops, text, colour and exports are free. Only the AI edit tab uses credits, and its button shows the cost before you run it.
3. Set the crop for each layout
In Layers & colour, under Composition, switch between 1:1, 16:9 and 9:16. For each one, select the background and use Crop zoom and the horizontal and vertical crop sliders. Each layout remembers its own crop. The other layouts, such as 4:5, follow the nearest of these three until you change something in them.
If the subject does not fit a narrow vertical frame, you can change Image fit from Crop to fill to Expand with colour. The whole image then fits, and the rest of the frame takes a canvas colour you choose. To fill that space with more of the picture instead, use the next step.
4. Extend the picture where a crop cuts too much
Expand canvas keeps the whole image in the frame and has AI continue the picture into the empty space around it. It works on images saved to your account, not on the samples.
- Switch to the layout to fill, such as 9:16, and open the AI edit tab. Under Edit operation, choose Expand canvas.
- The preview shades the area the AI will fill. Image size makes room on every side, and Horizontal position and Vertical position move the image within the frame. In a vertical cover, moving it down leaves new space above it for the headline. If your image already has the layout’s shape, lower Image size to make room.
- Tick the models to compare and choose Run AI edit. There is no instruction to write: each model makes its own expanded version of the image.
- Each result appears under Image for this layout as it finishes. Choose one, and the layout shows it under your text and logo. Every size drawn from that layout uses it too. Choose Original image to go back to the crop.
The models invent different things for the new area, and they don’t all keep your image equally sharp. Compare the results at full size, look closely at faces, hands and straight lines, and pick the version you like best. Our comparison of three outpainting models shows what to look for.
5. Add the headline
Type it under Add your words and choose Top or Bottom, or choose Add text for full control over the font, size, colour, width, opacity and rotation. Drag the layer on the canvas to place it. Like the crop, each layer remembers a separate position for every layout, so the vertical version can have the headline higher up without moving it in the thumbnail.
Thumbnails are usually seen small, so keep the headline to a few words. Small-screen preview shows the image at 240 pixels wide, which is a quick test of whether it still reads. To add a logo, choose Add image / logo.
6. Check every layout
- Adjust Brightness, Contrast, Saturation and Warmth under Light & colour. Use Show original to compare before and after.
- Switch through all three layouts once more. The checks next to Download warn you if a layer crosses the canvas edge or the text is too tall.
7. Export every size at once
Open Recipes & exports. Under Multi-format pack, give the pack a name and untick any sizes you don’t need. Choose PNG or JPEG in the menu next to Download, then choose Download format pack.
You get one ZIP file. A pack named “Episode 12” downloads as Episode-12-sizes.zip, with files such as Episode-12-youtube-thumbnail-1280x720.jpg and Episode-12-story-1080x1920.jpg, and a manifest.json that records each file’s dimensions, the layout it came from and any layout warnings. If a size needs a look, the editor names it.
- JPEG suits photographs and keeps files small. PNG suits flat colour and sharp lettering.
- Download 2× resize makes a larger copy of the current layout, such as 2560 × 1440 for 16:9. It is a local resize: it adds pixels, not detail. For real detail, use Upscale 2× on the image first and open the upscaled version in the editor.
- Save a new version keeps the finished image in your private library, with the expanded images you chose. Later, All social sizes on that version downloads every size again as PNG files, without opening the editor.
8. Reuse the layout for the next episode
Before you close the editor, name the layout under Reusable recipes and choose Save recipe. Next time, open the new image in the editor, pick the recipe and choose Apply recipe. Your new image stays as the background, and the crops, text layers and colour settings come back. Expanded images belong to the old picture, so expand the new one again where you need to. Change the headline and export. Use in new project does the same in a fresh project.
Checklist
- The subject survives a 9:16 crop, or the image is expanded to fit.
- The headline is a few words, typed as a layer.
- Each layout has its own crop and headline position.
- Any expanded image looks right at full size.
- No layout warnings are left.
- The headline still reads in the small-screen preview.
- The layout is saved as a recipe for next time.